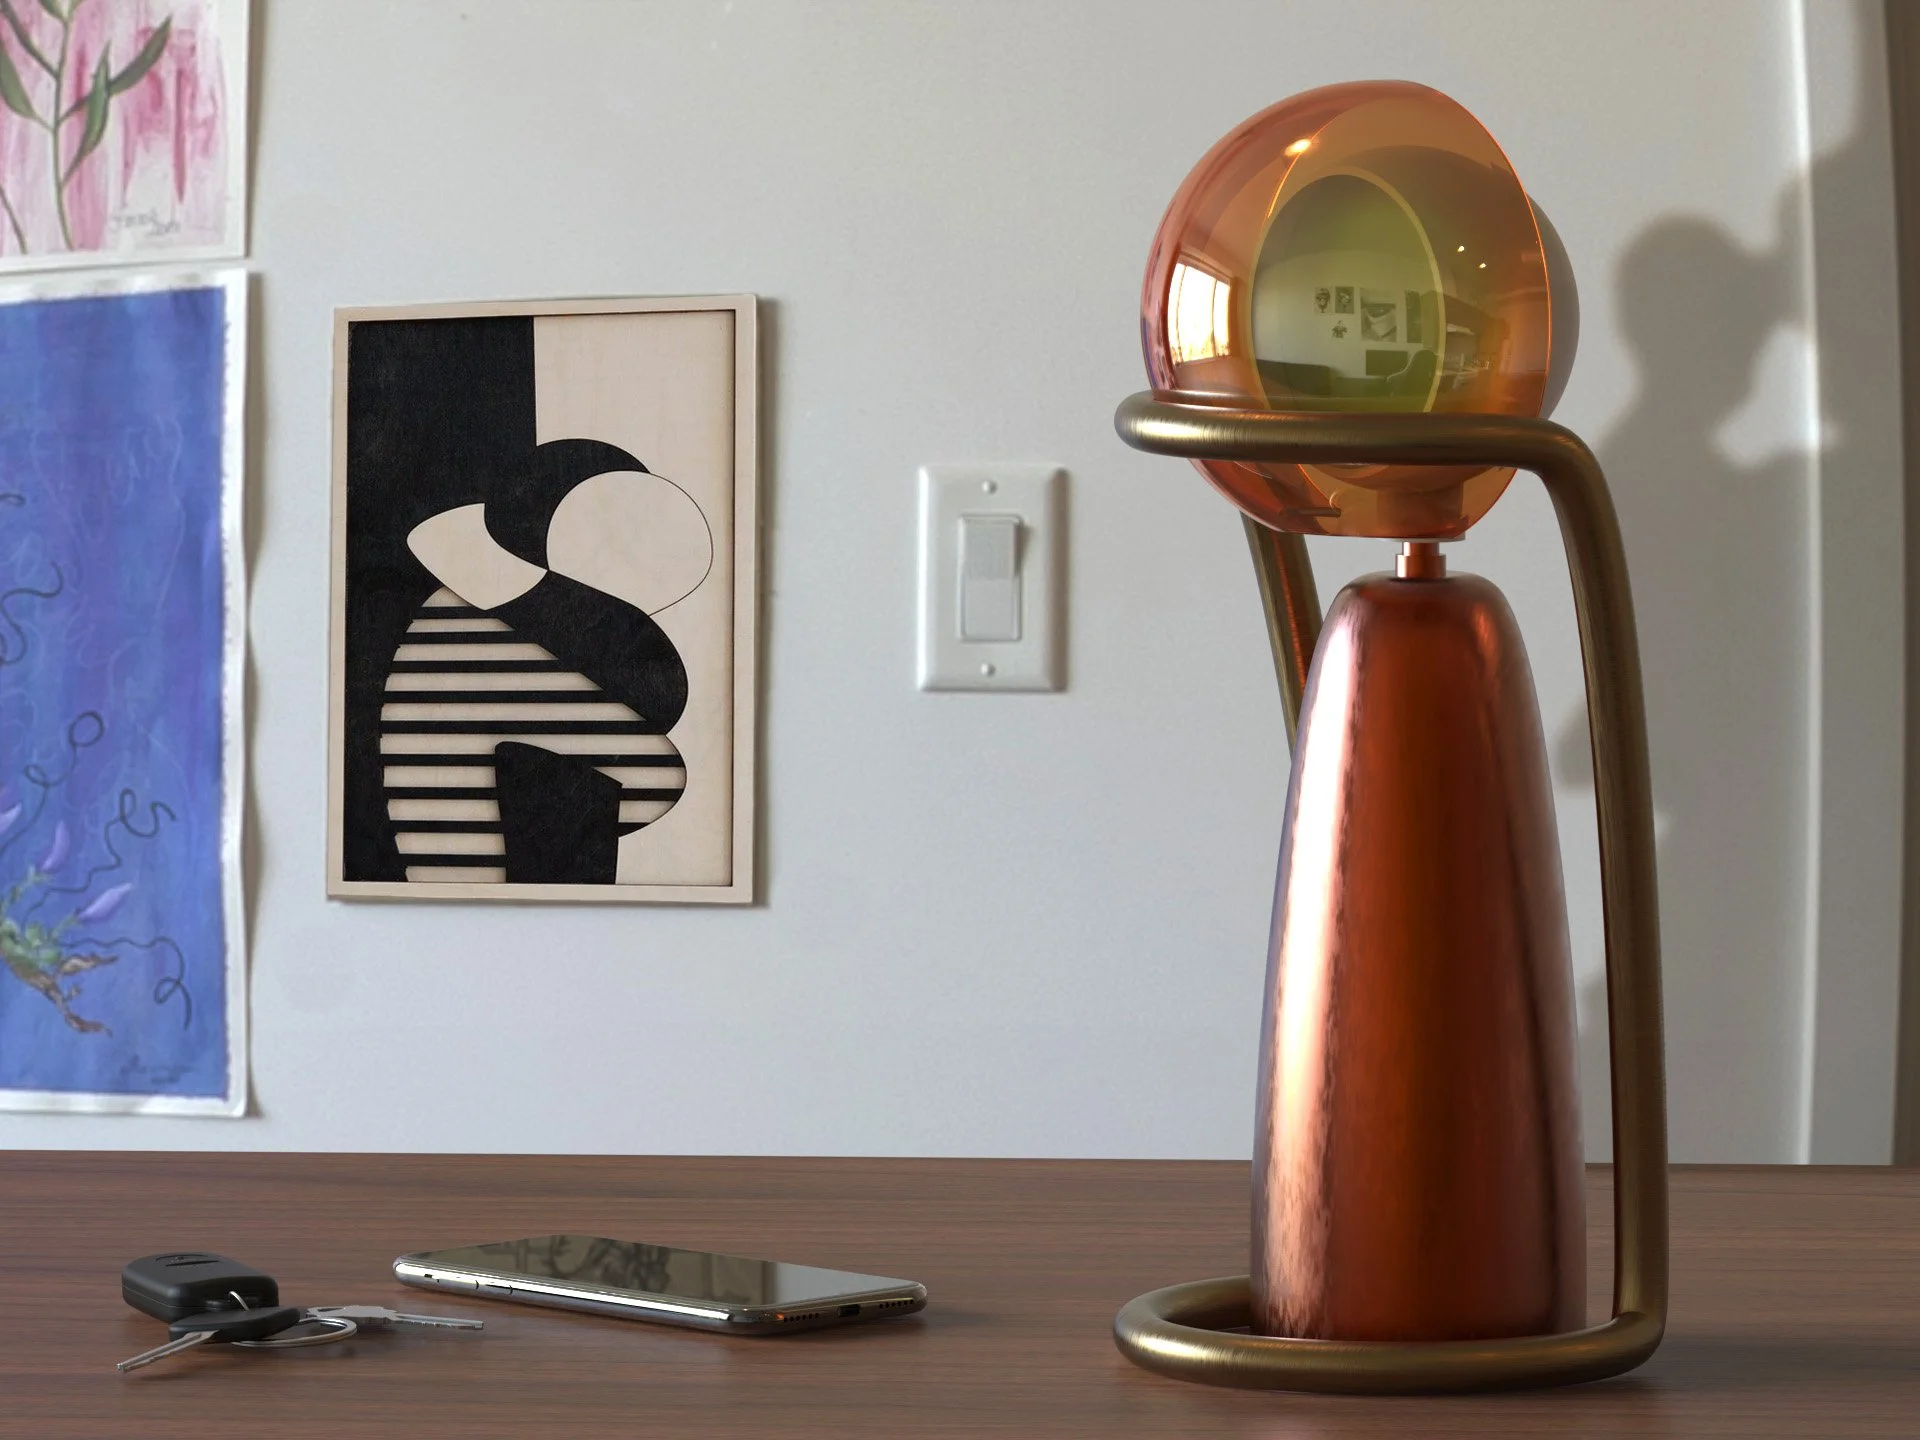
project goal:
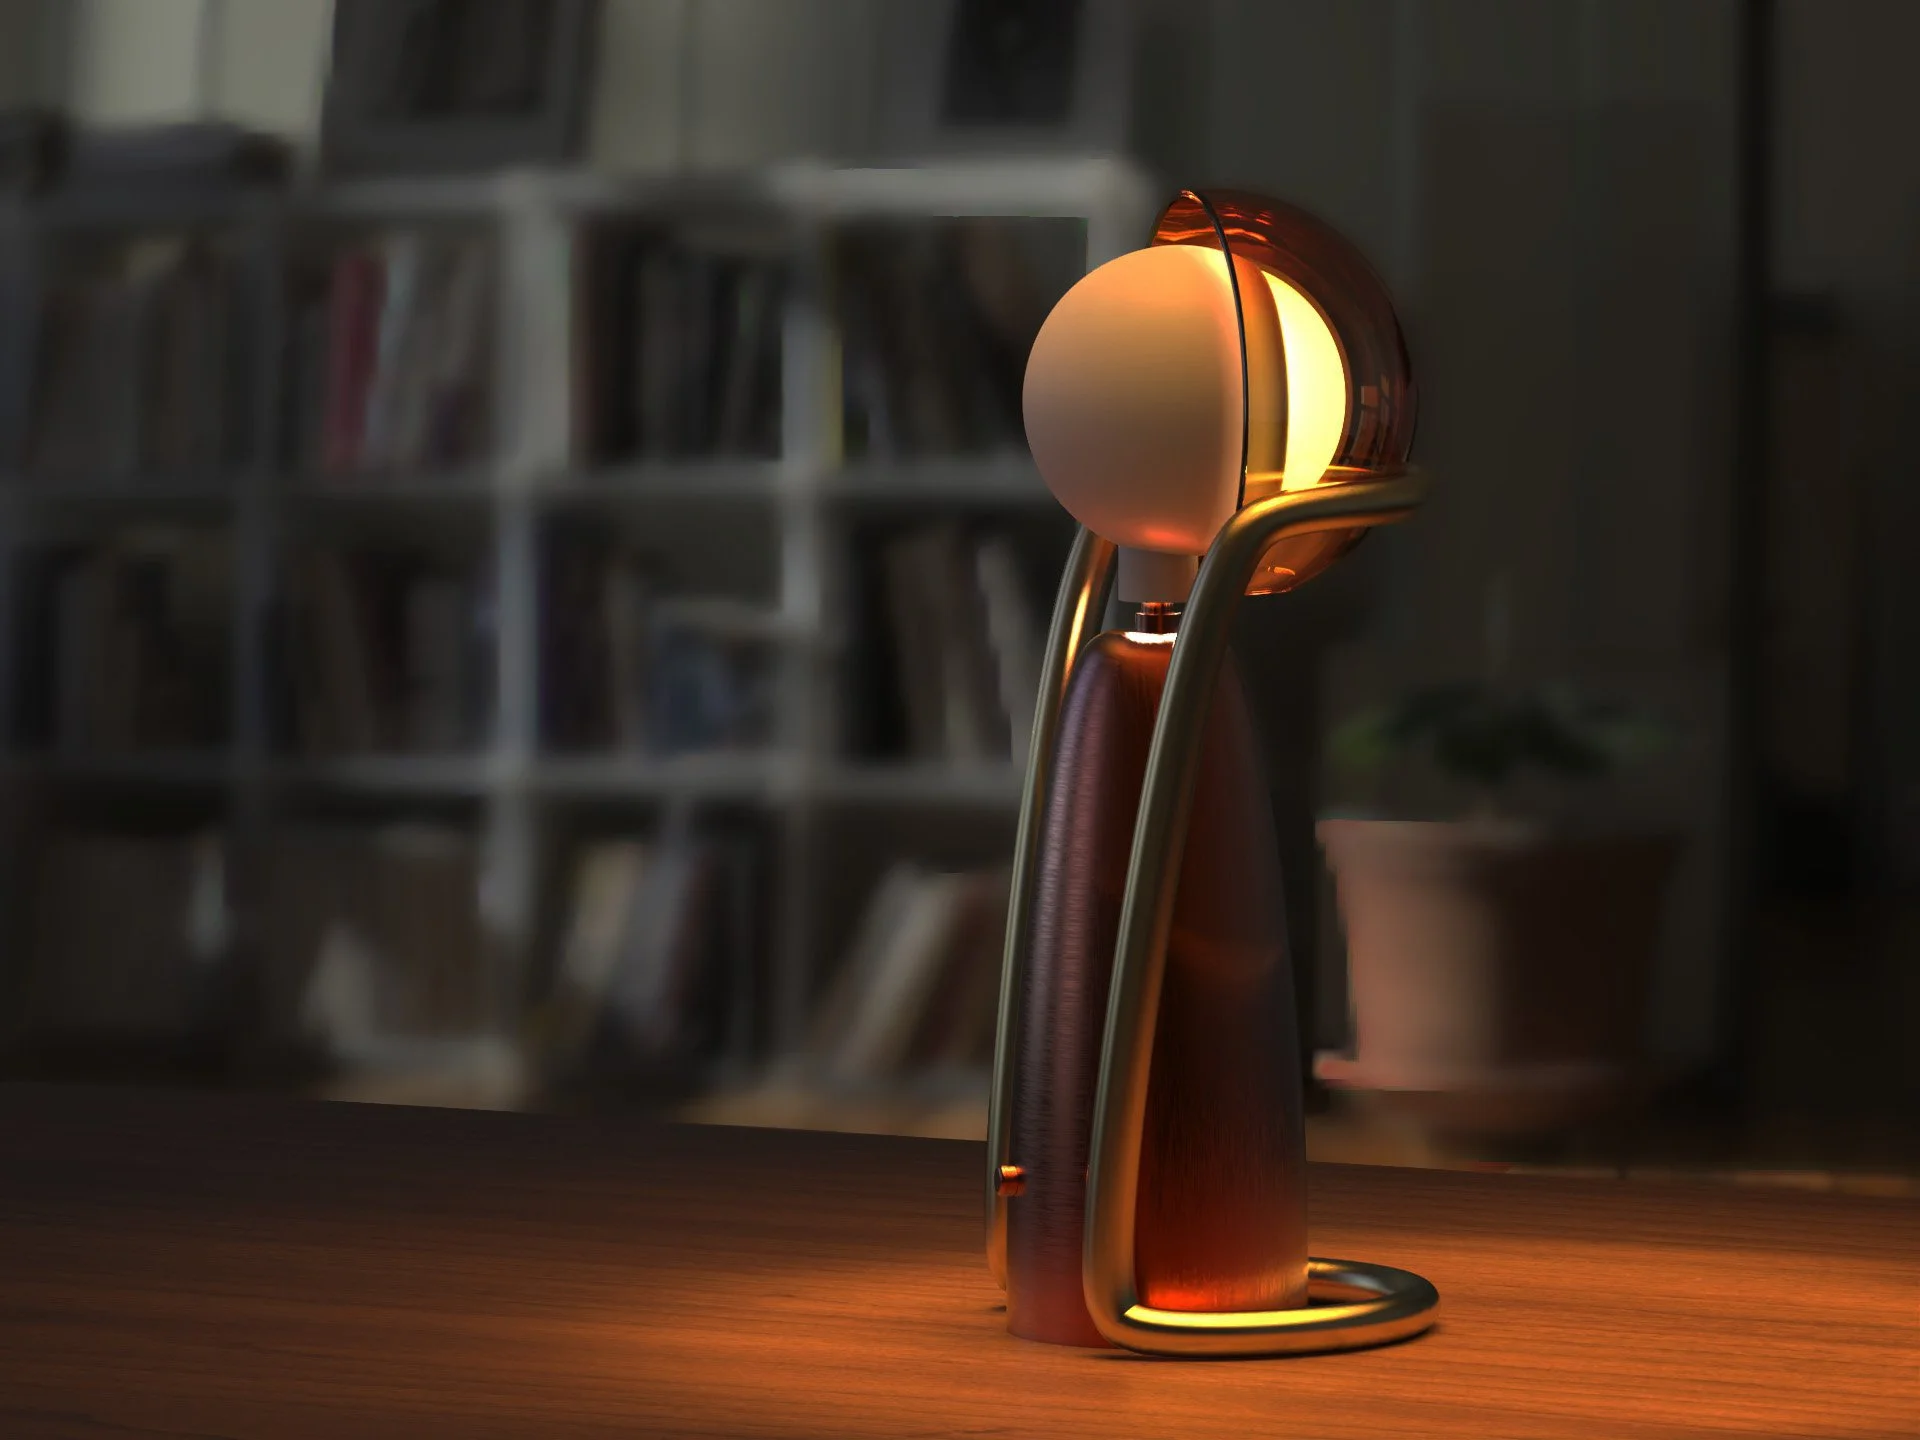
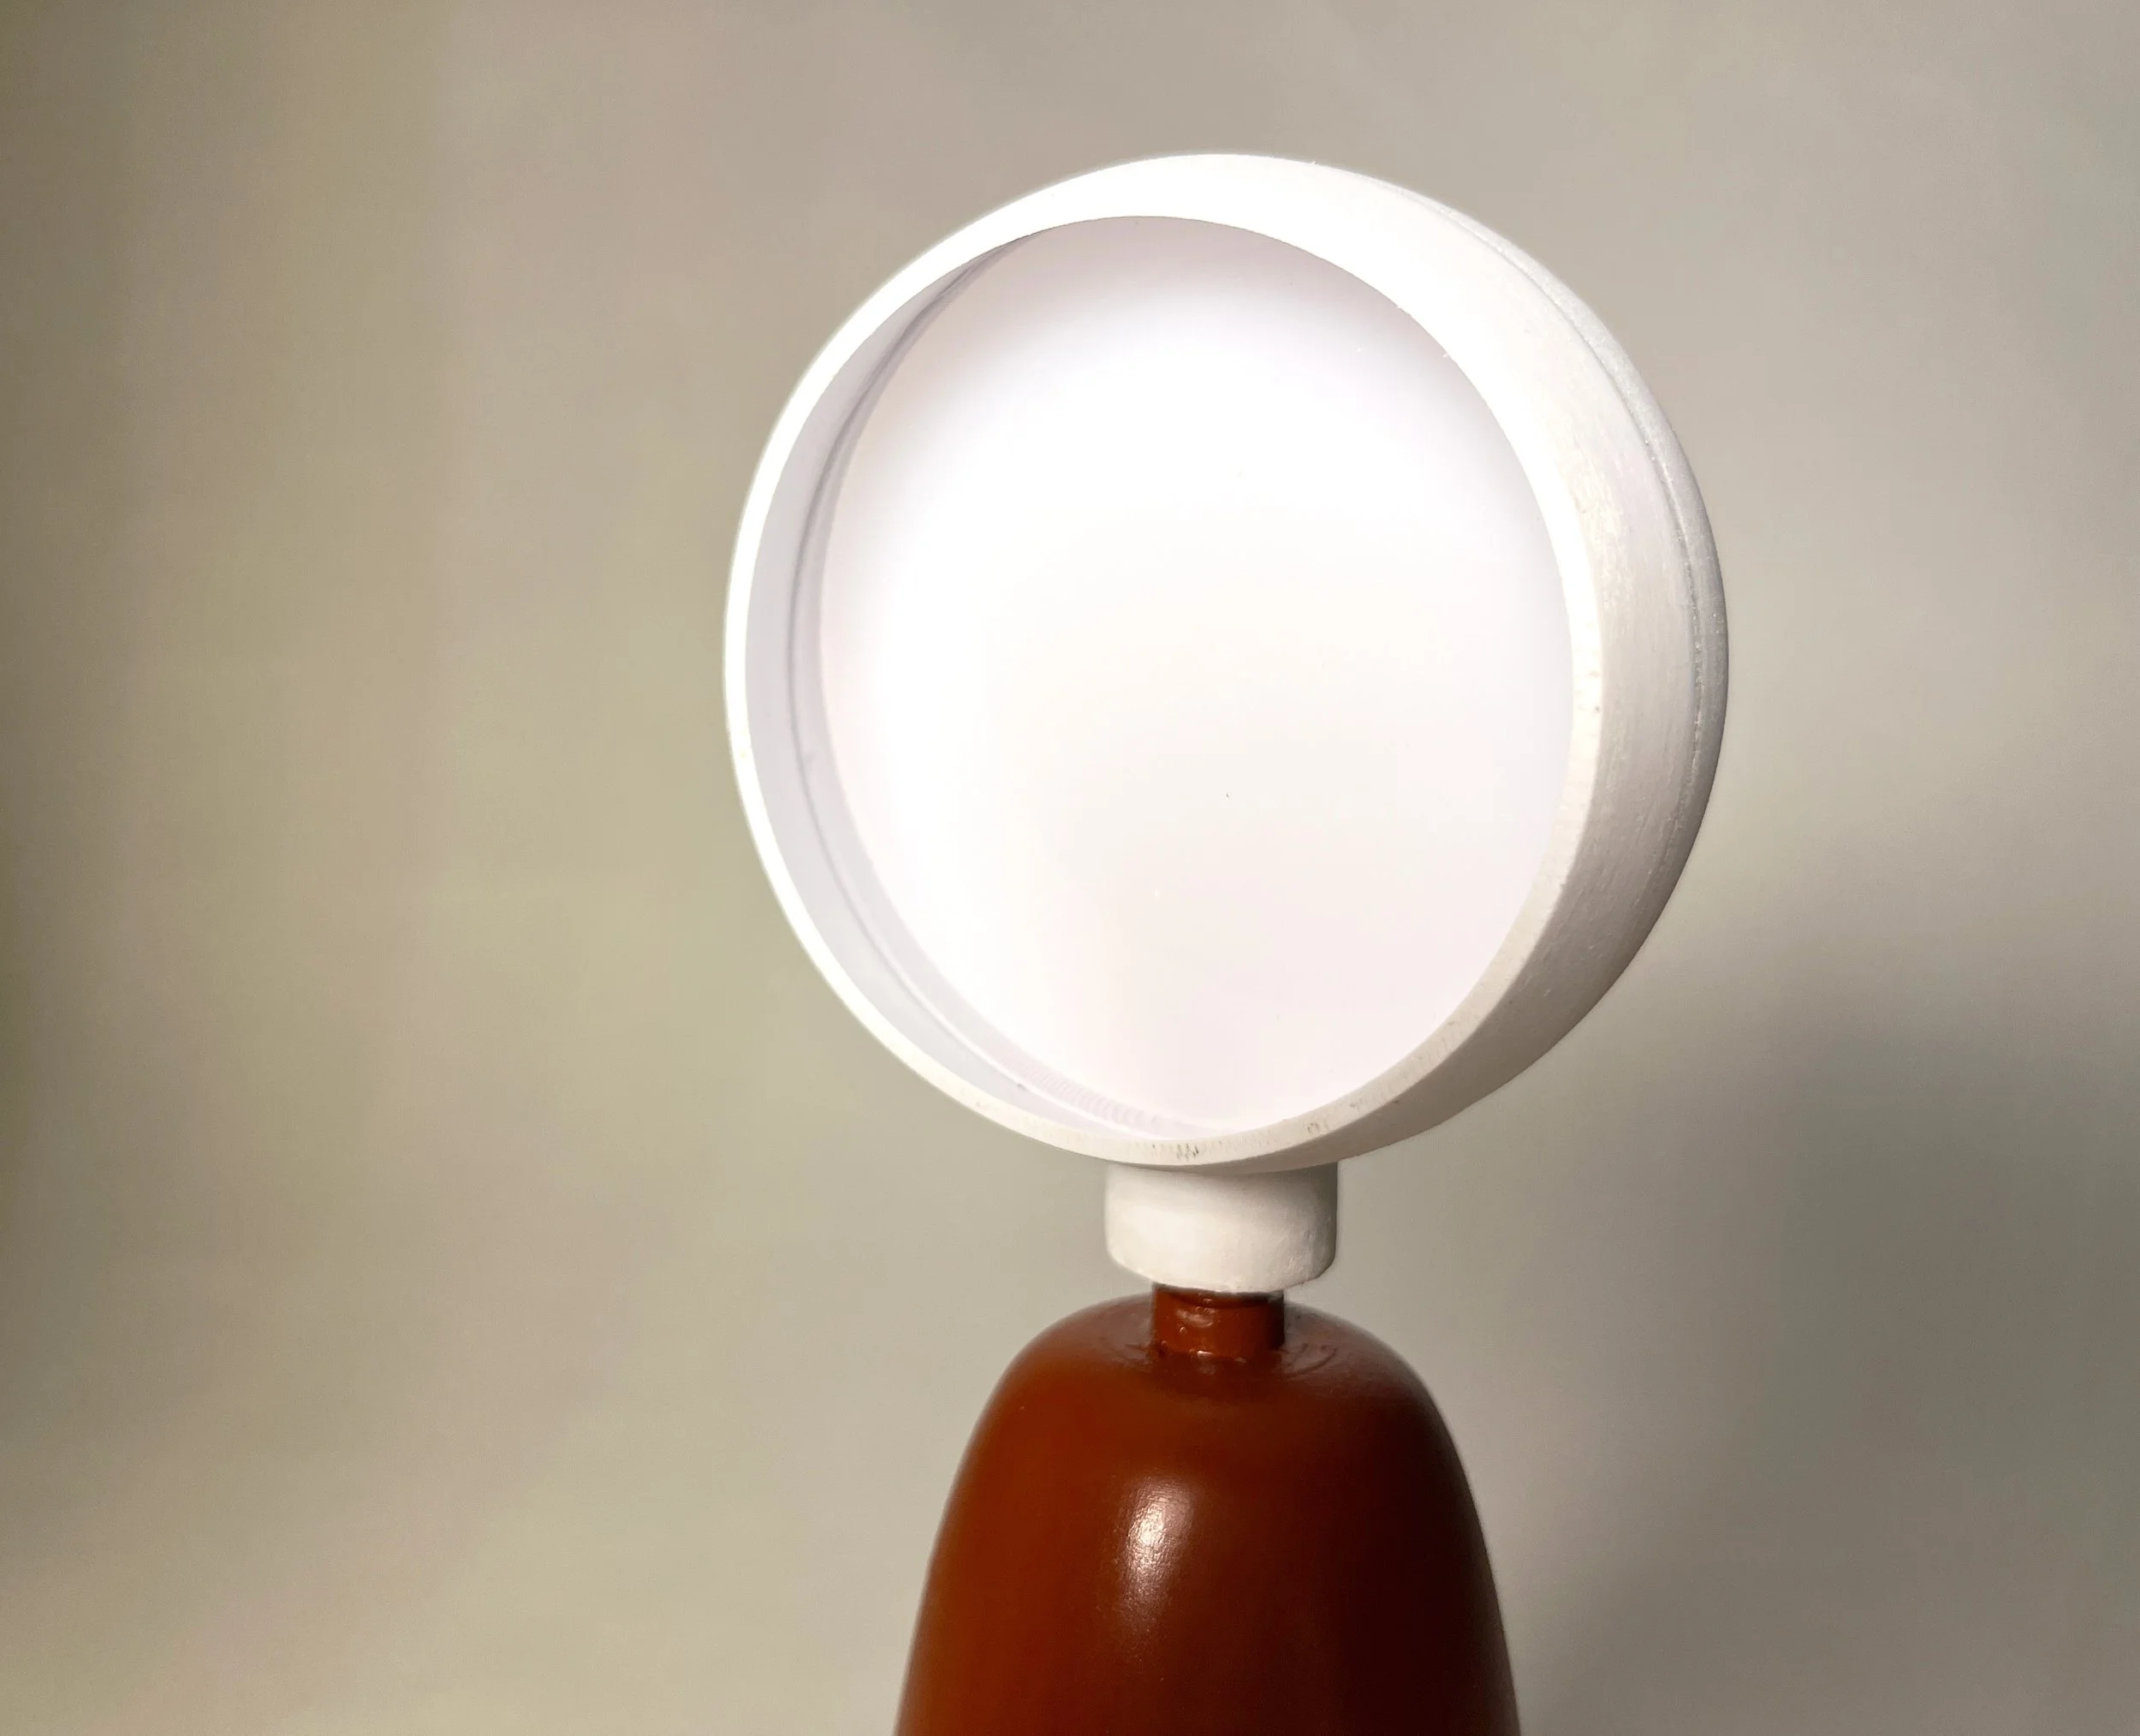
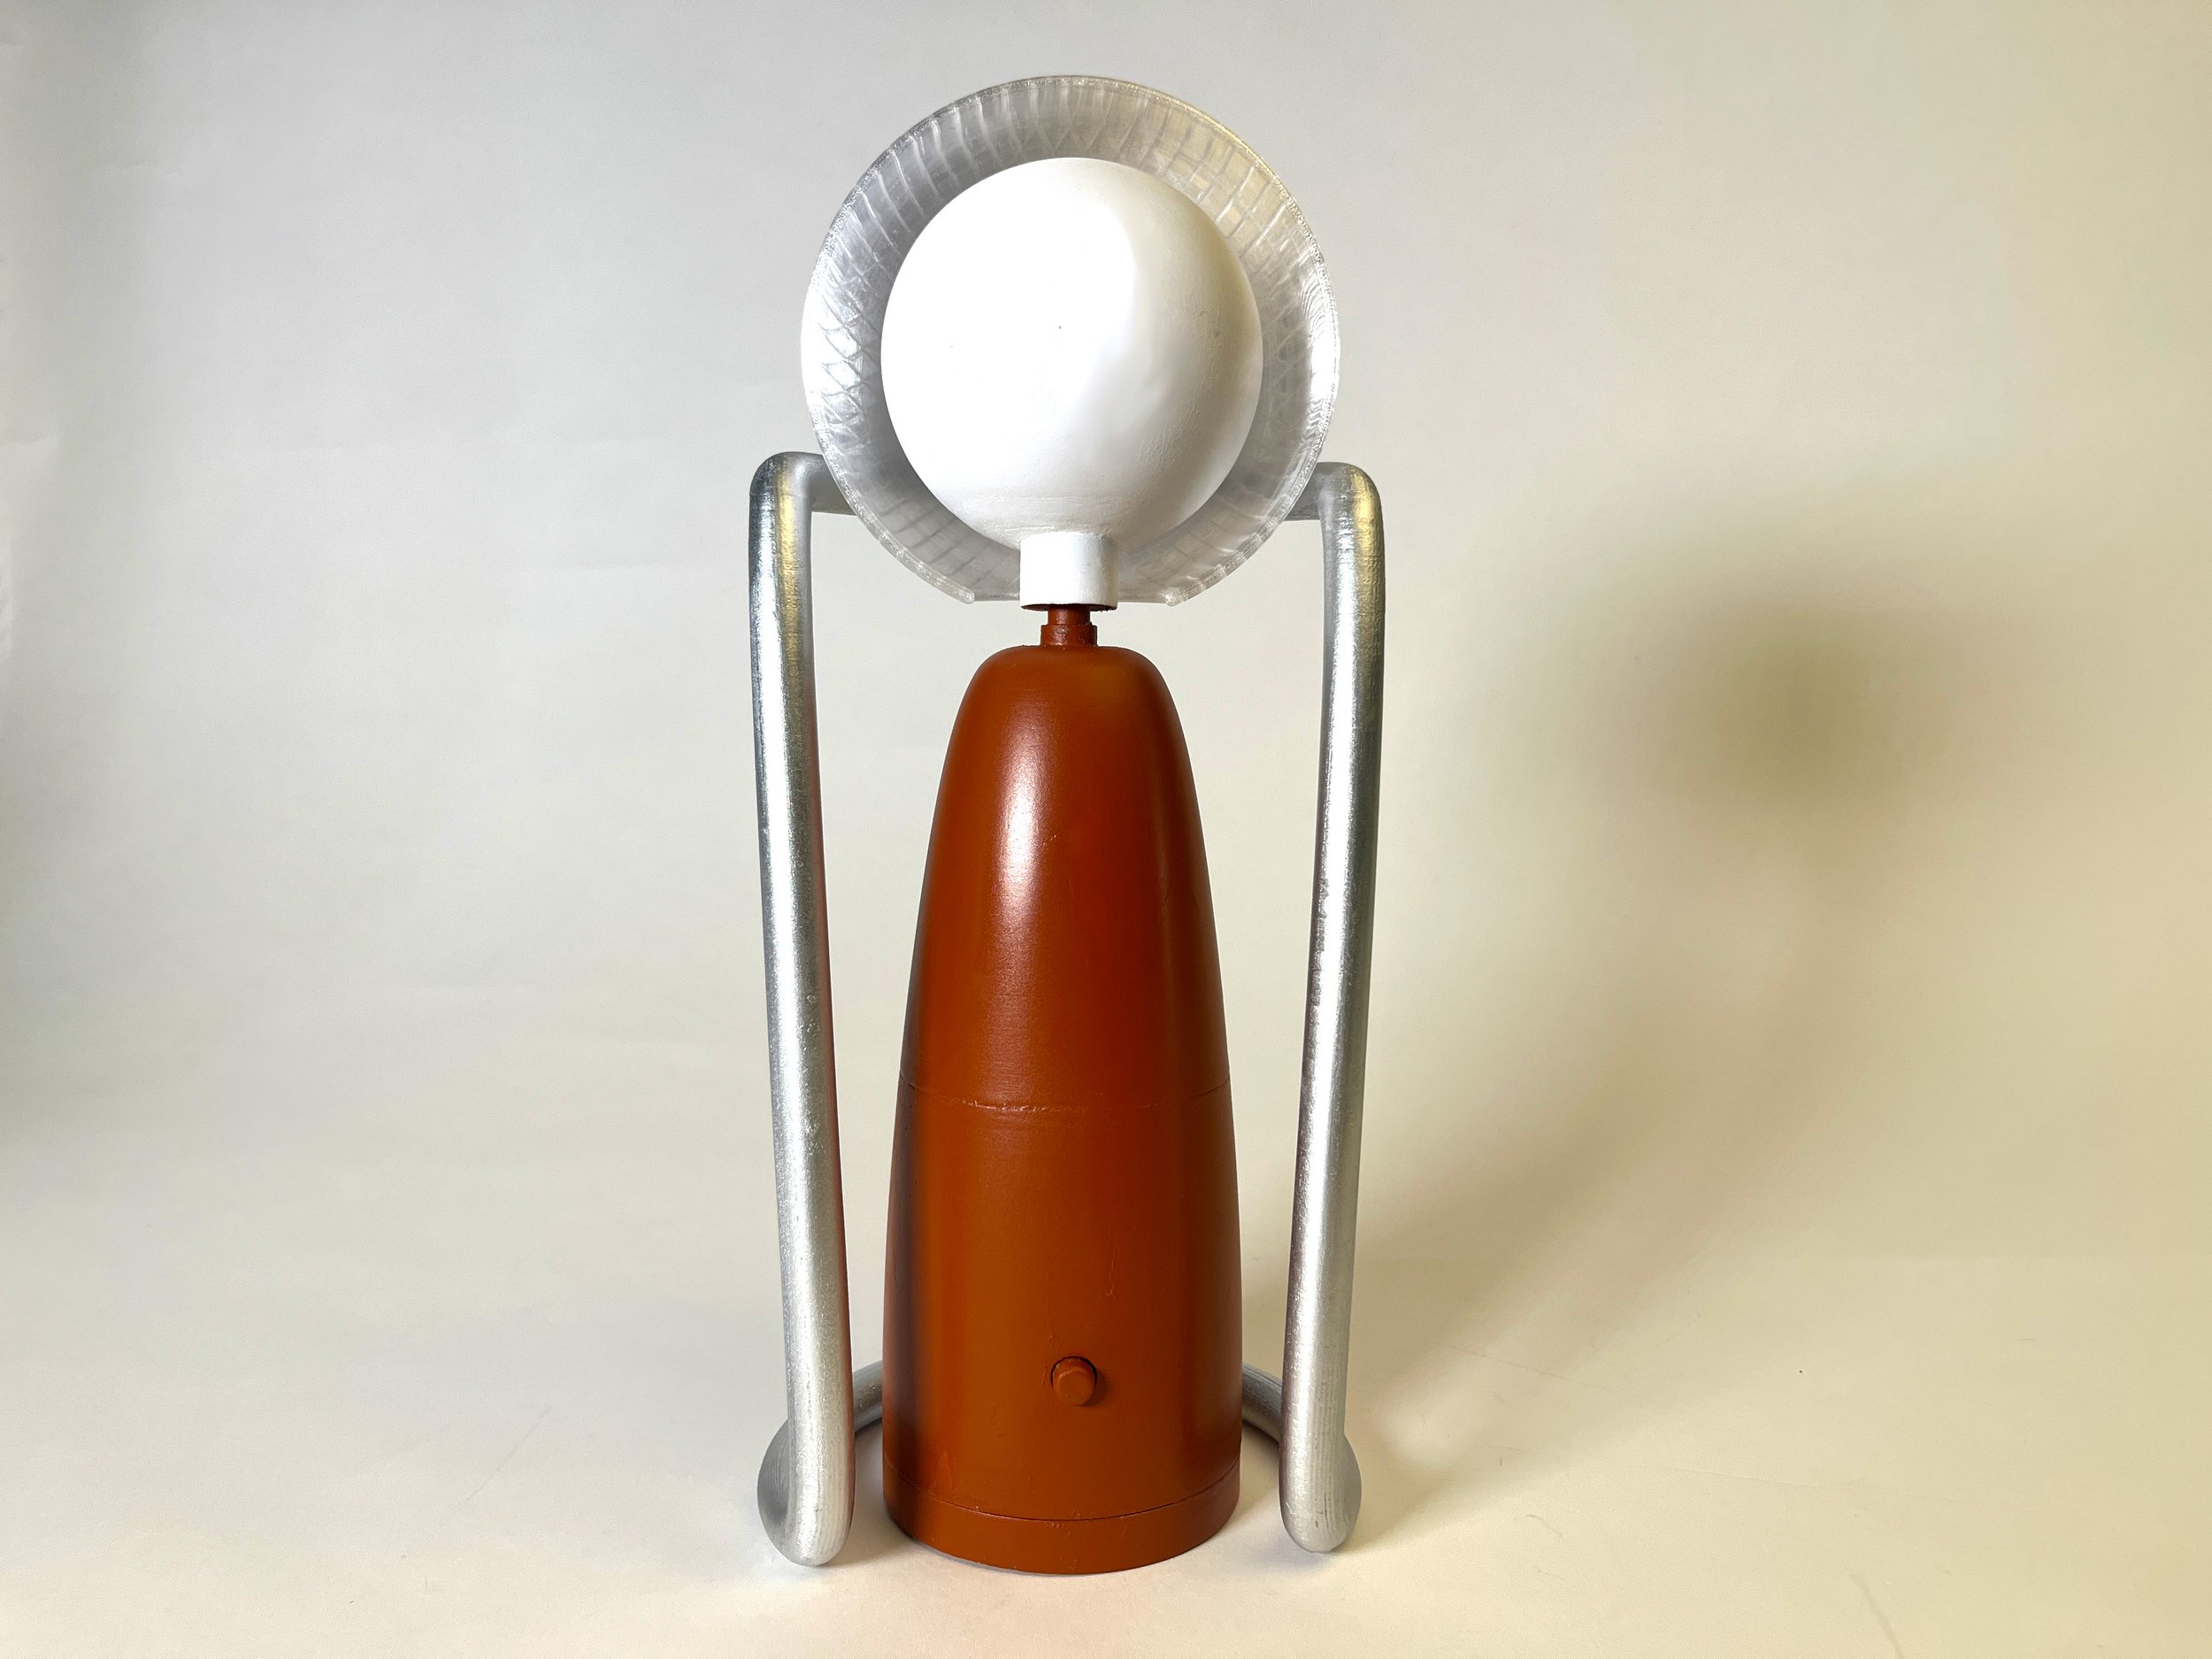
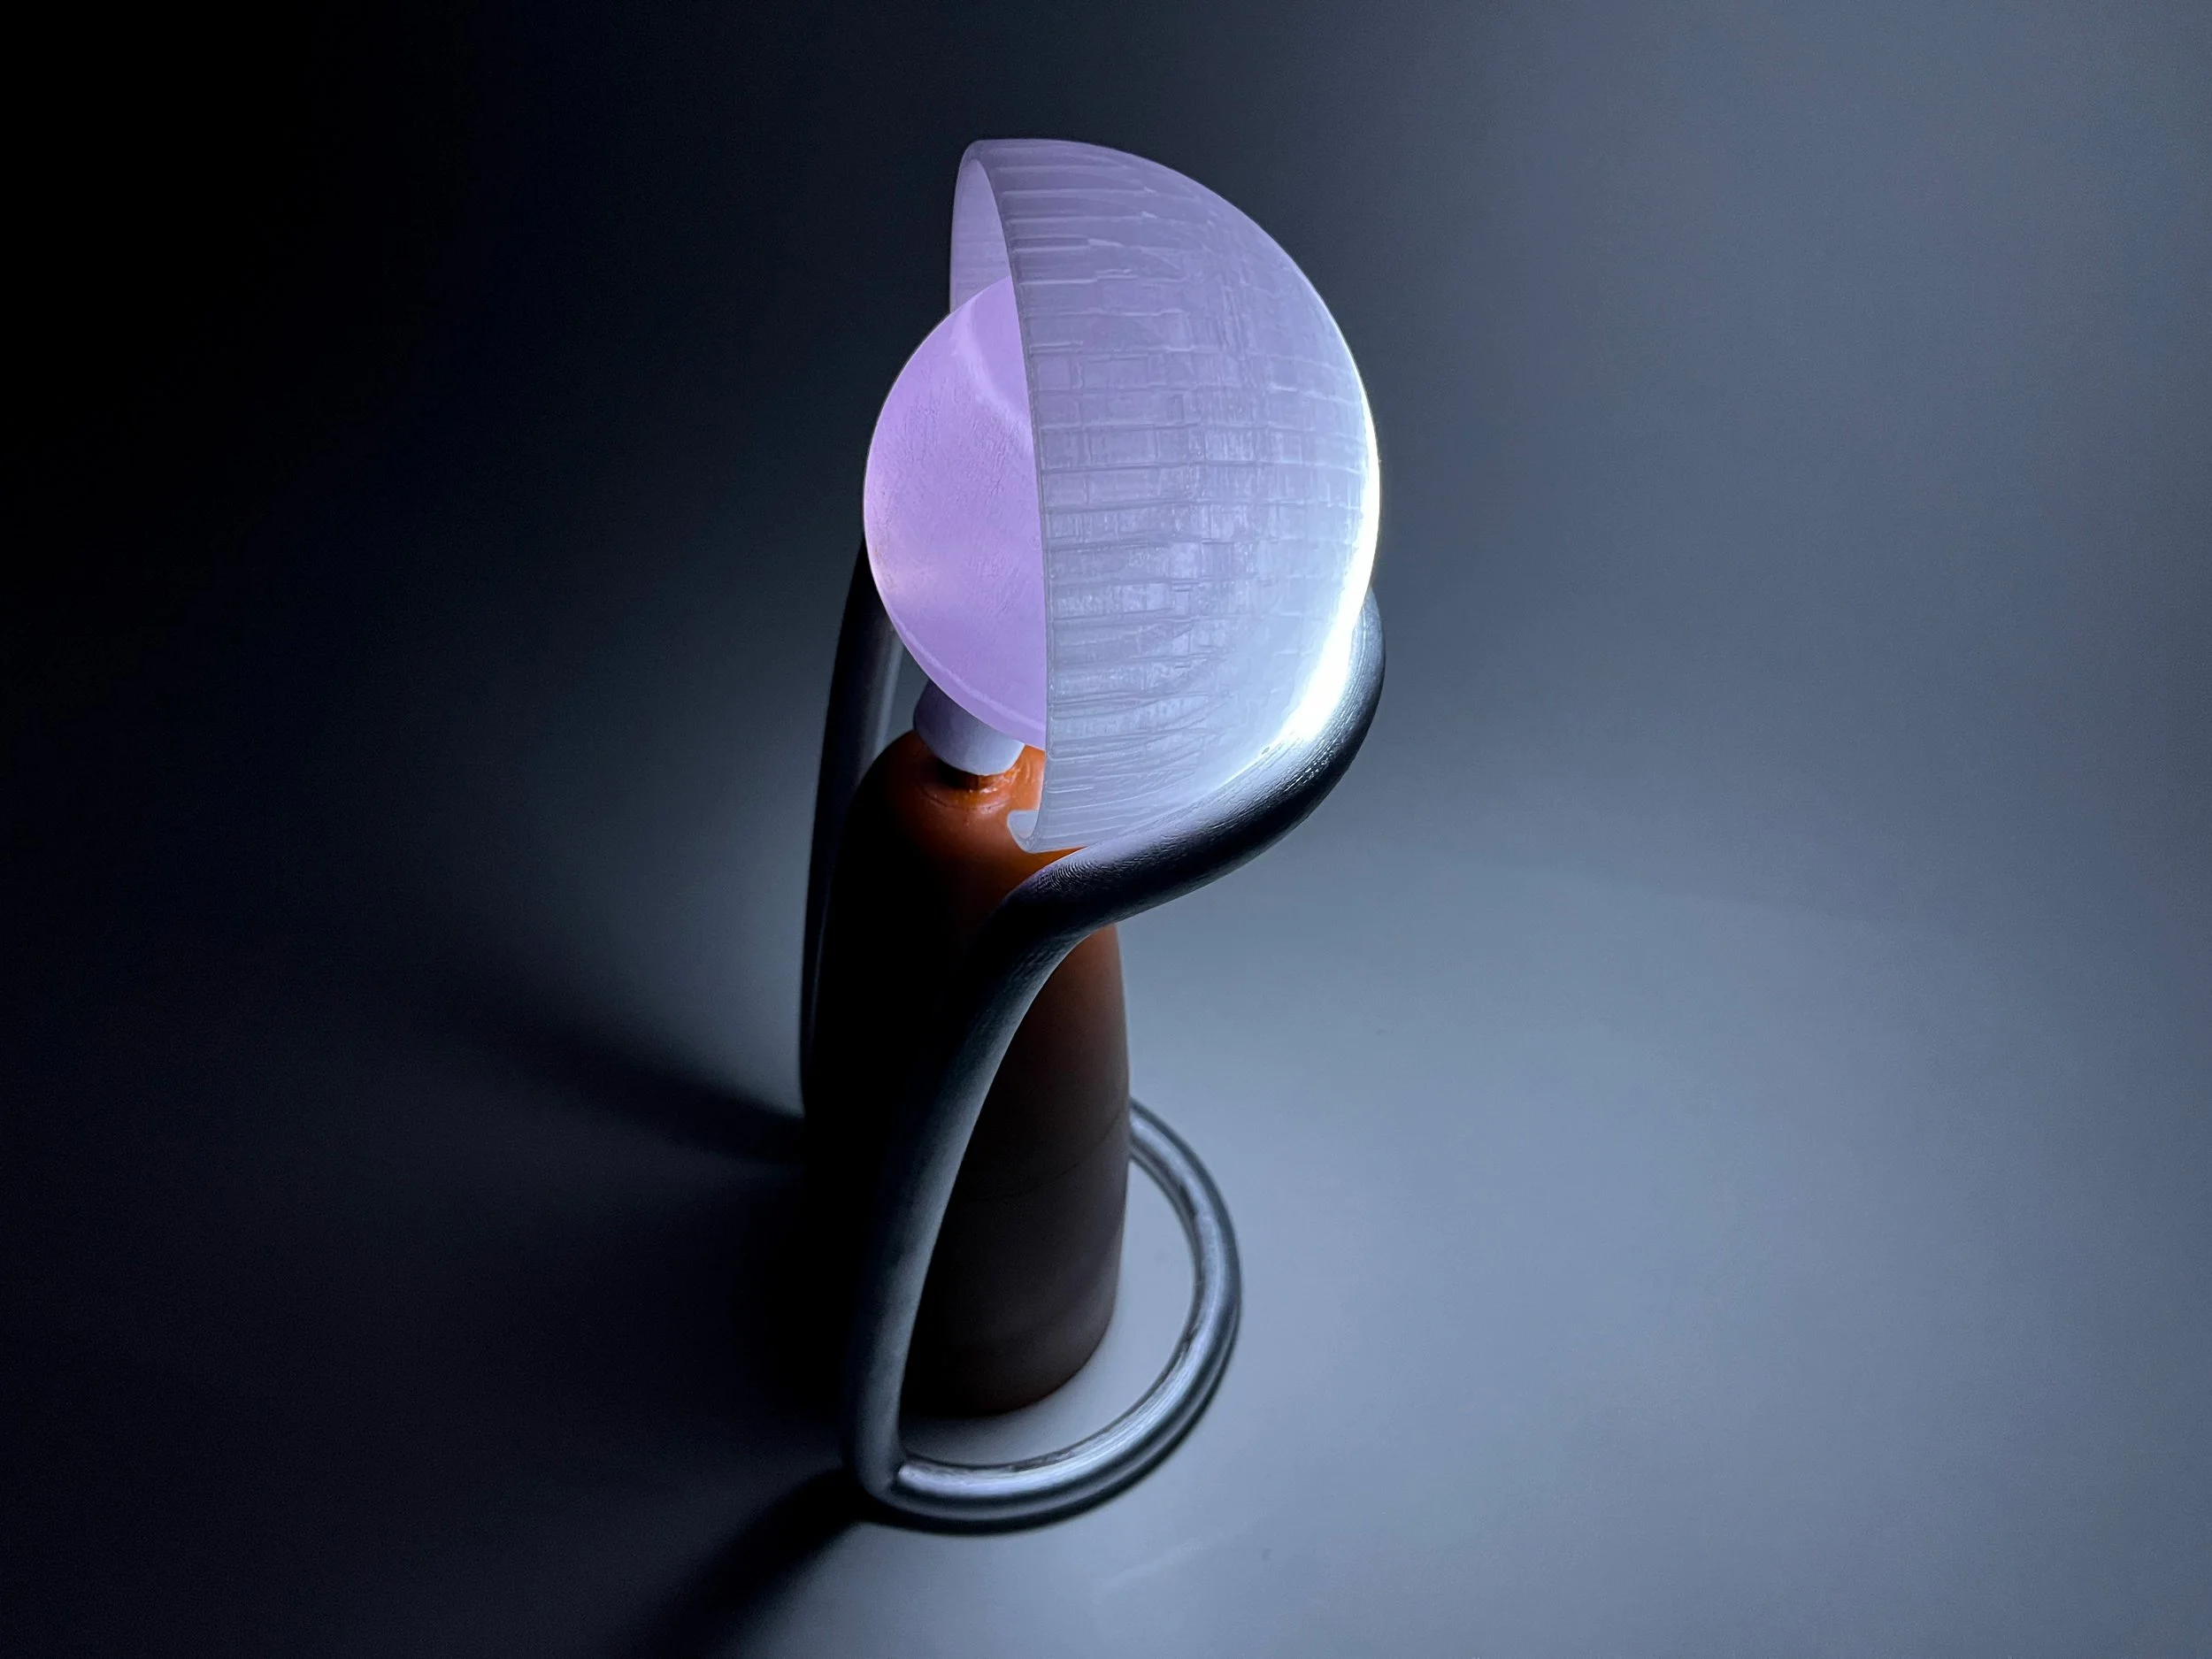
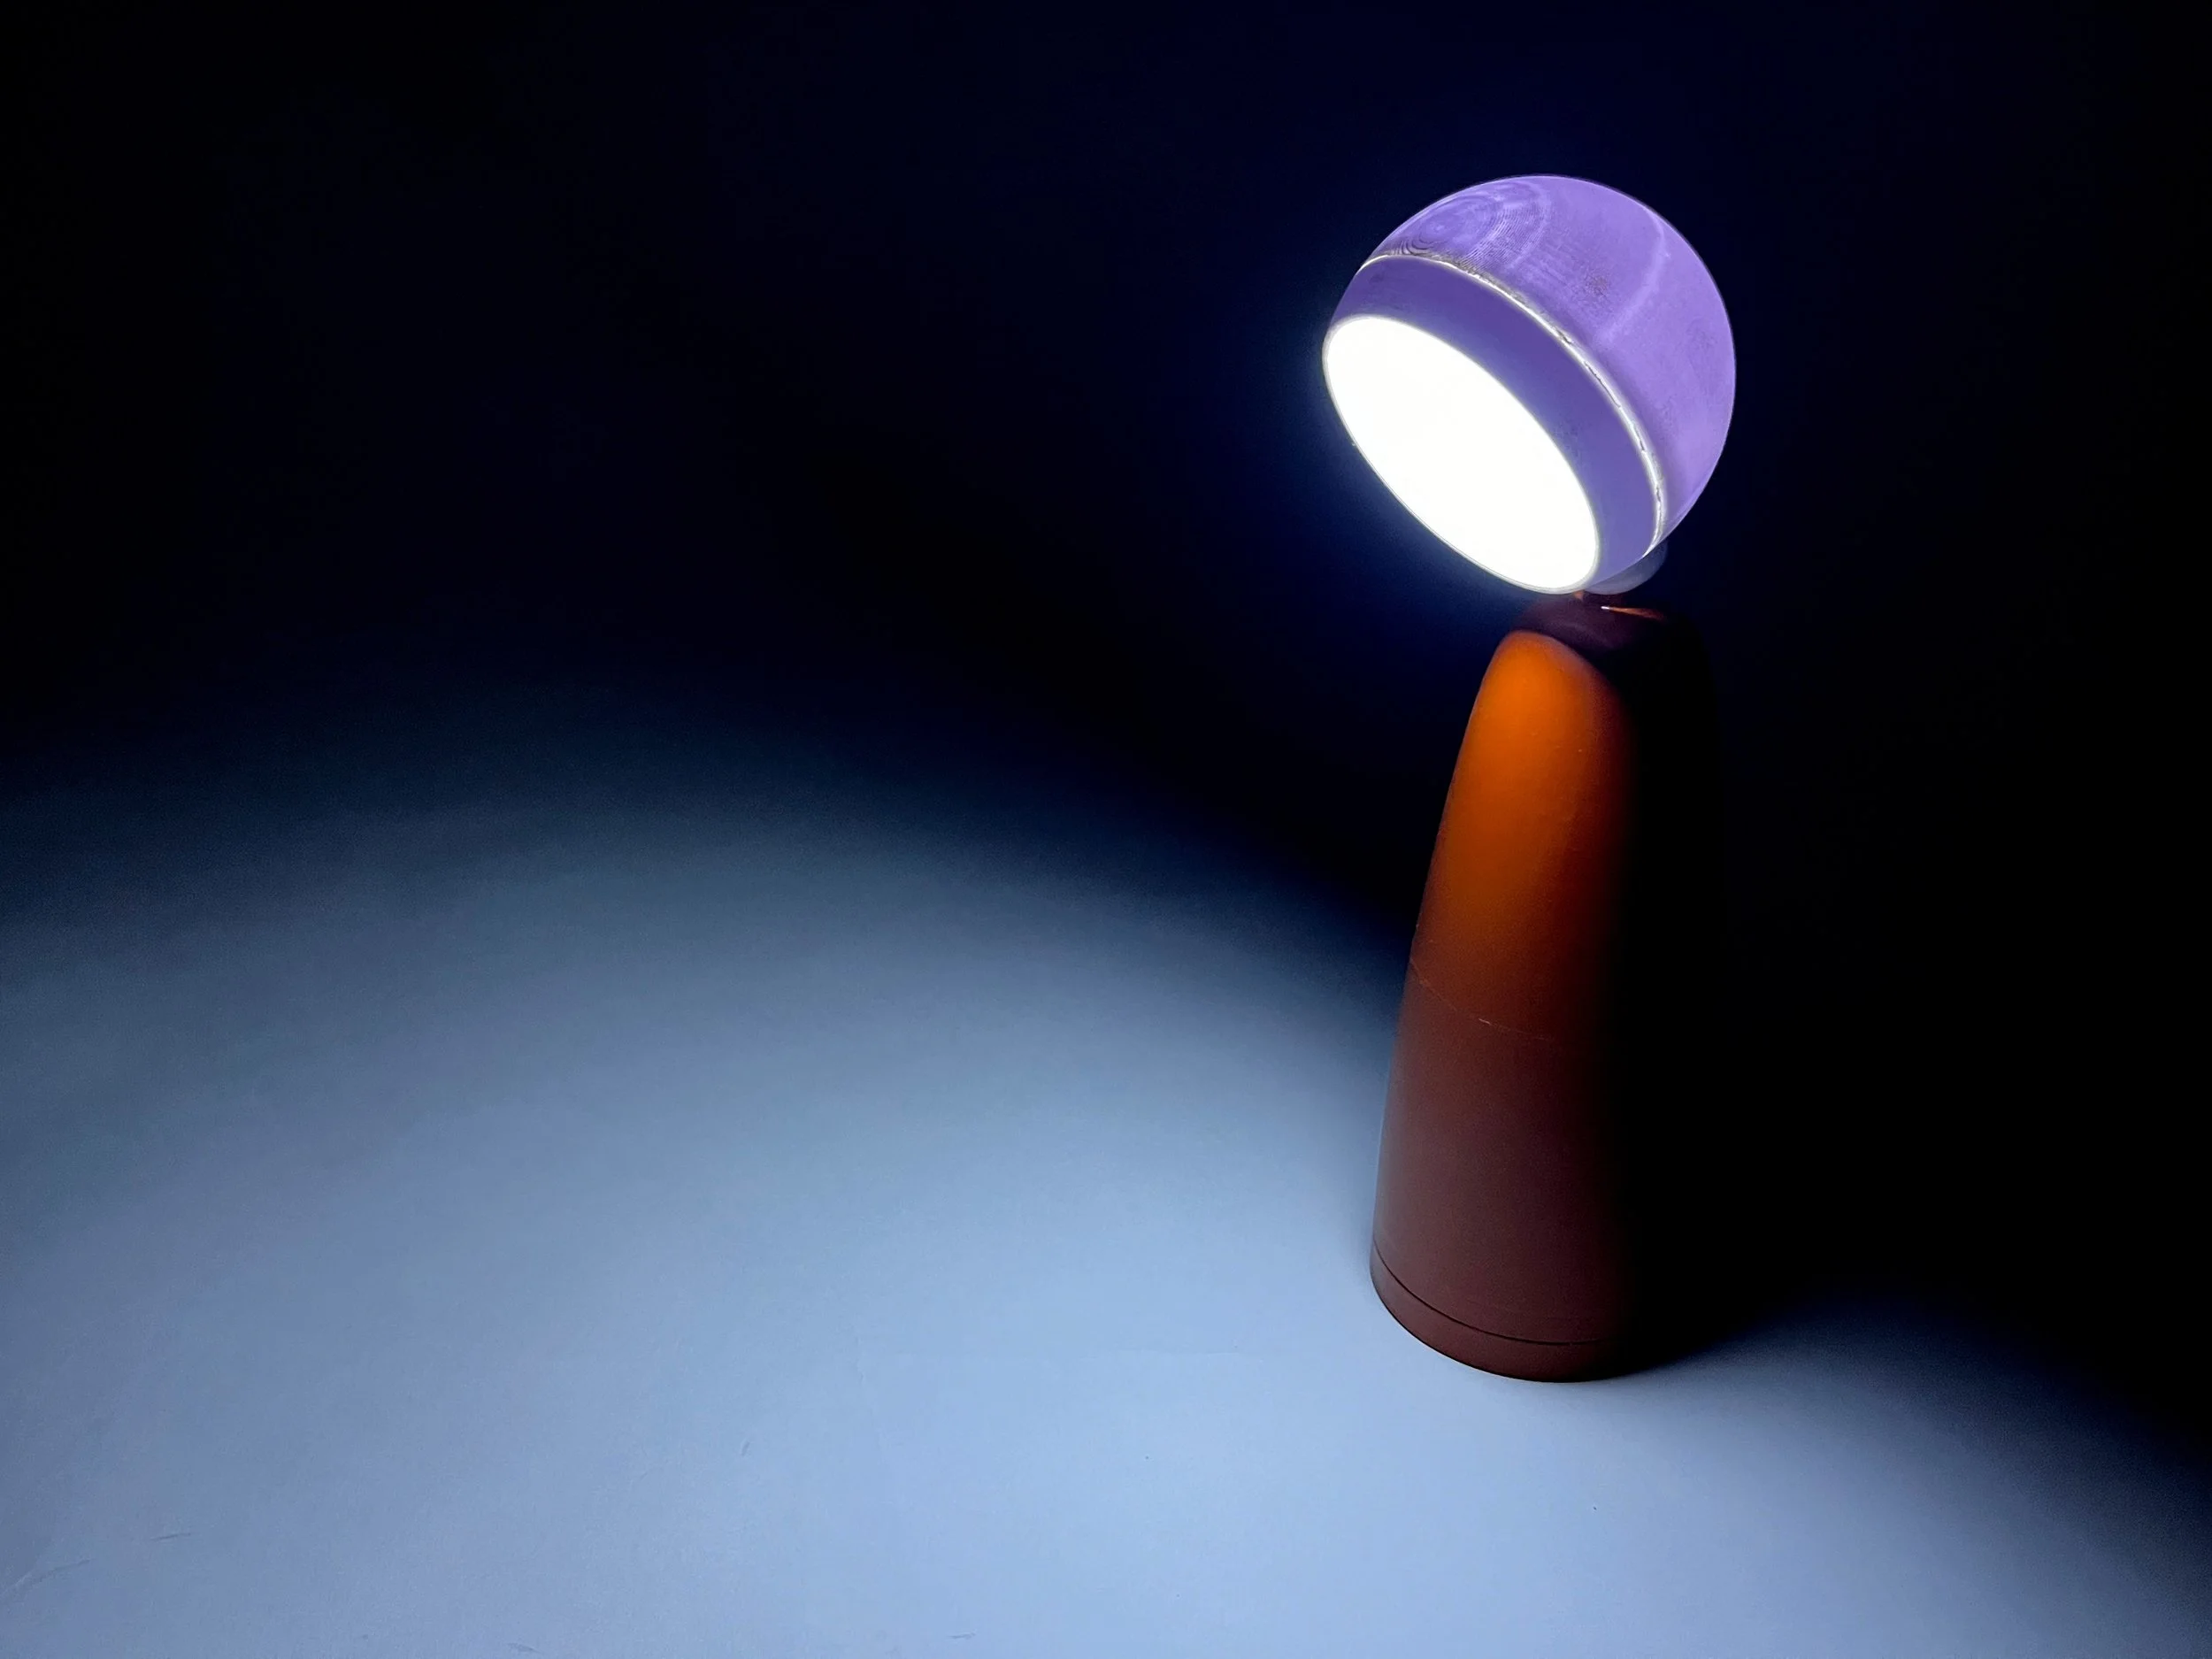
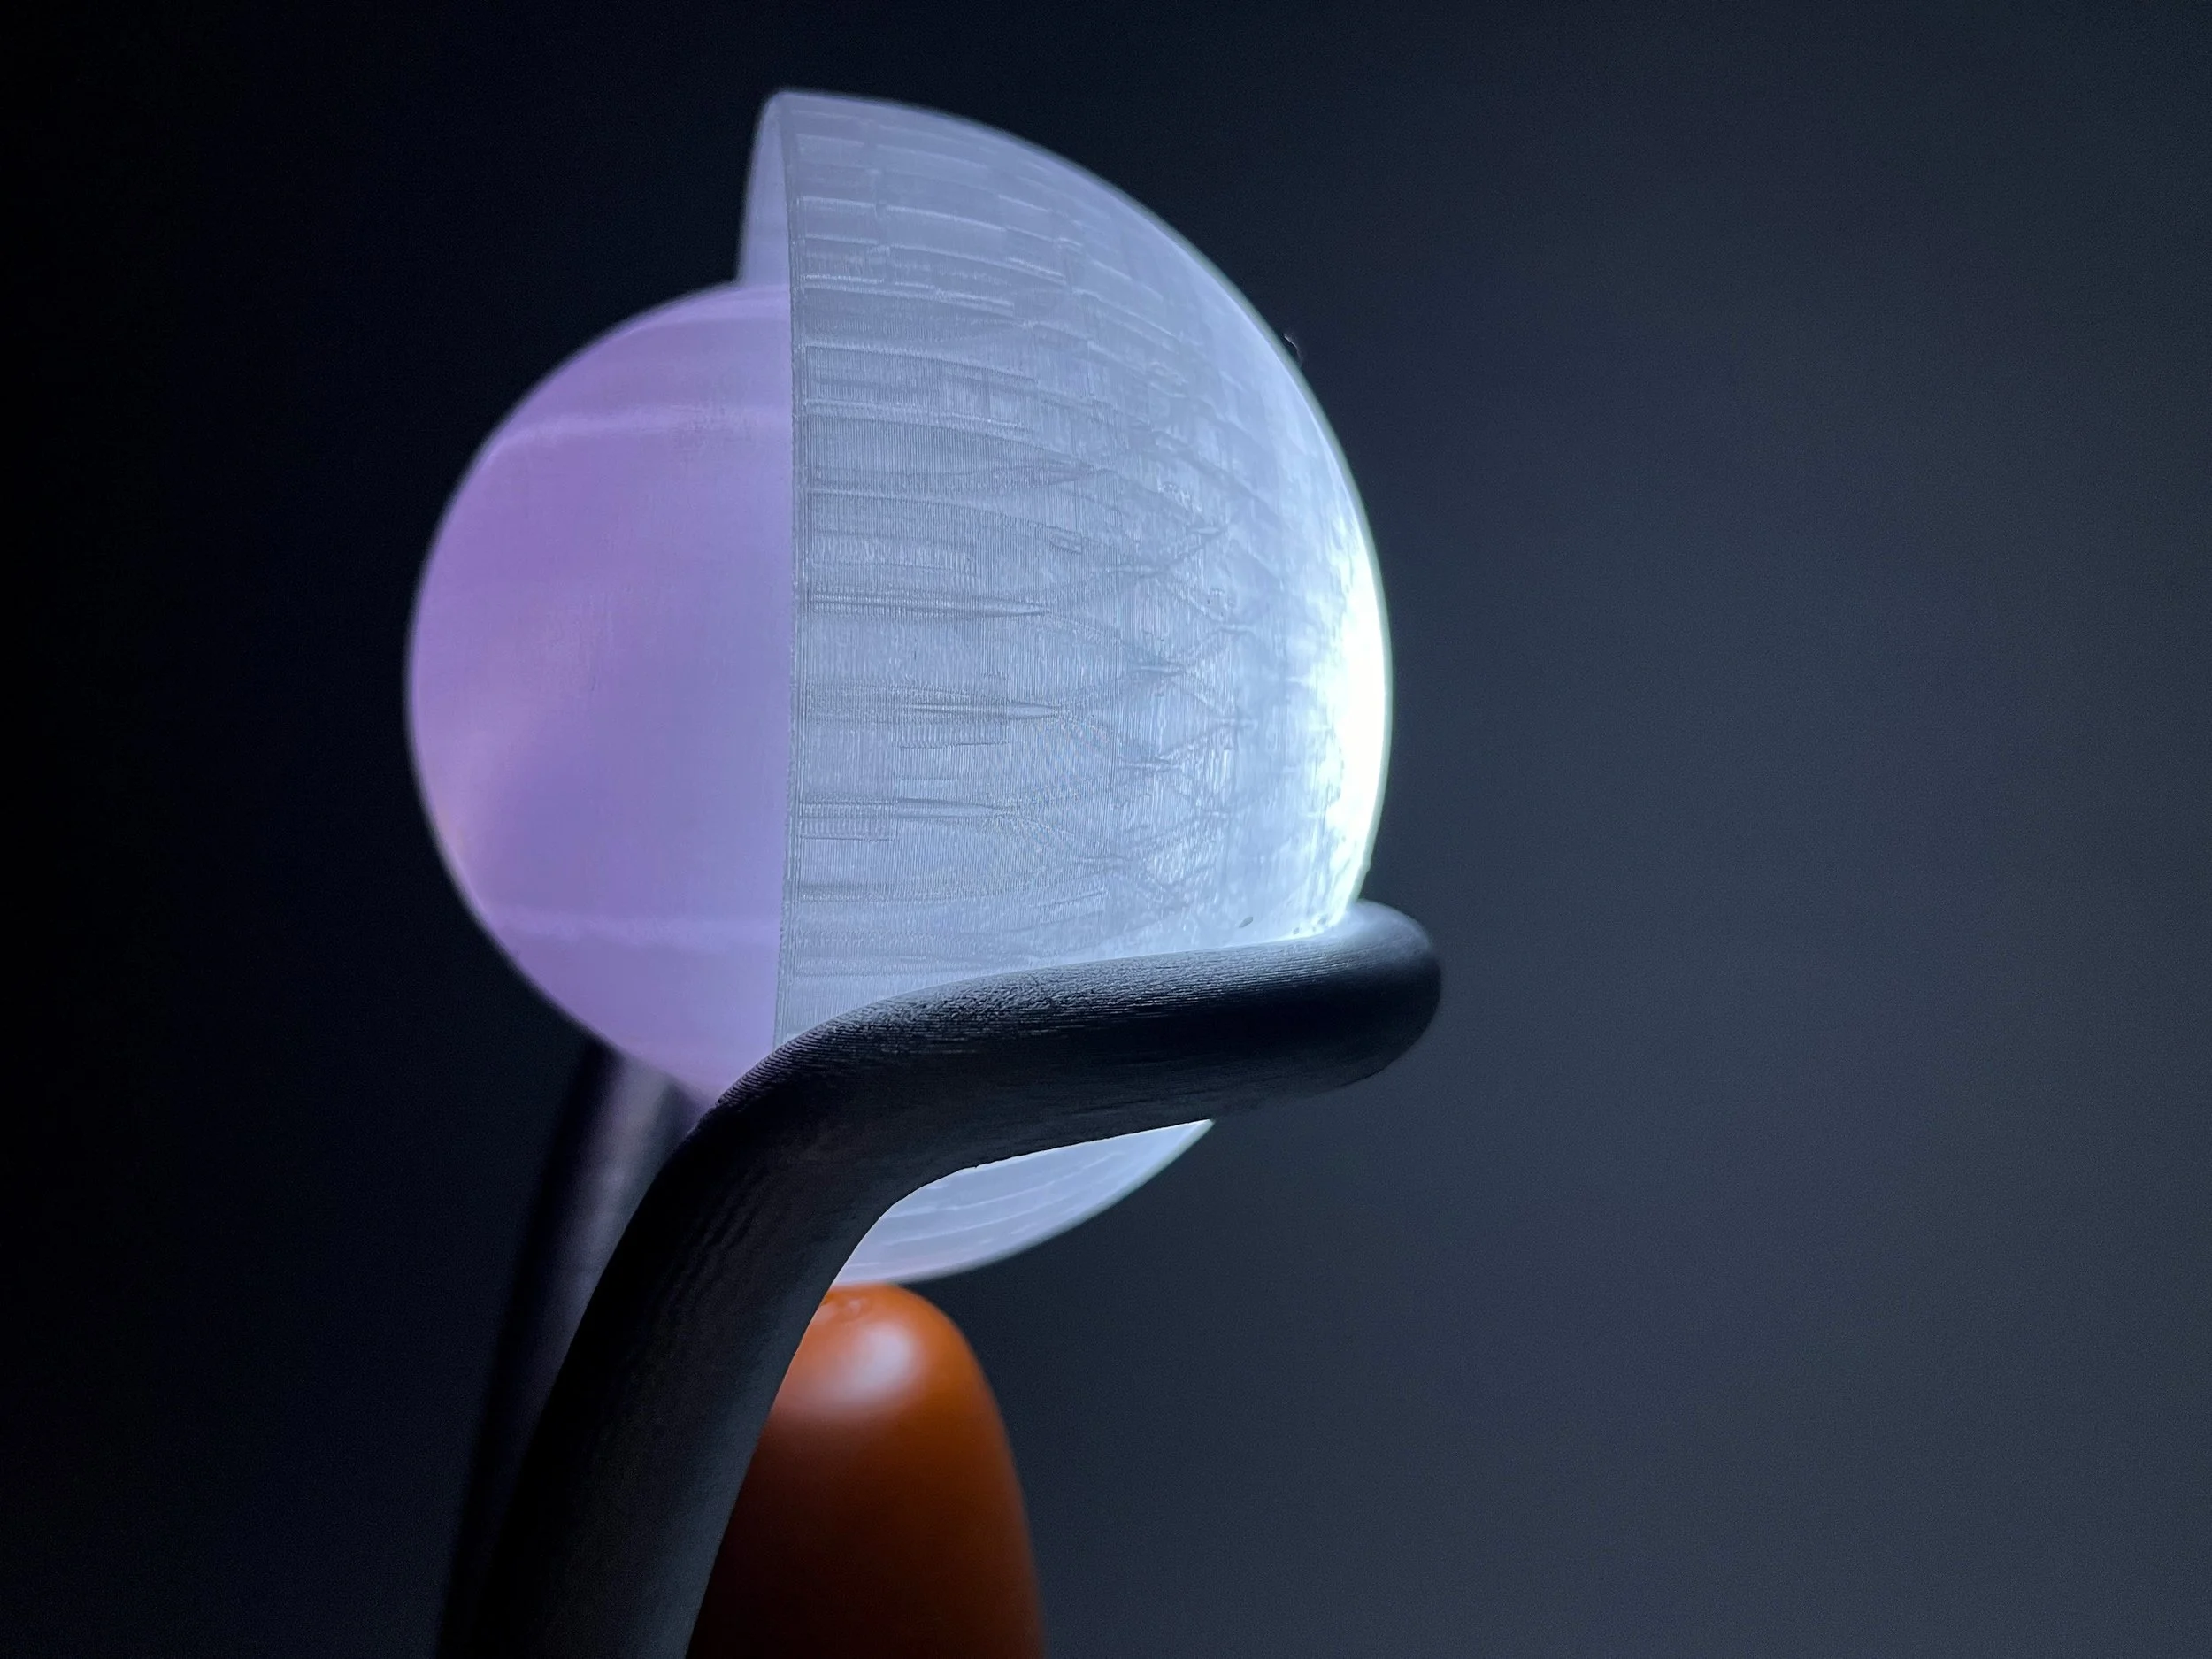
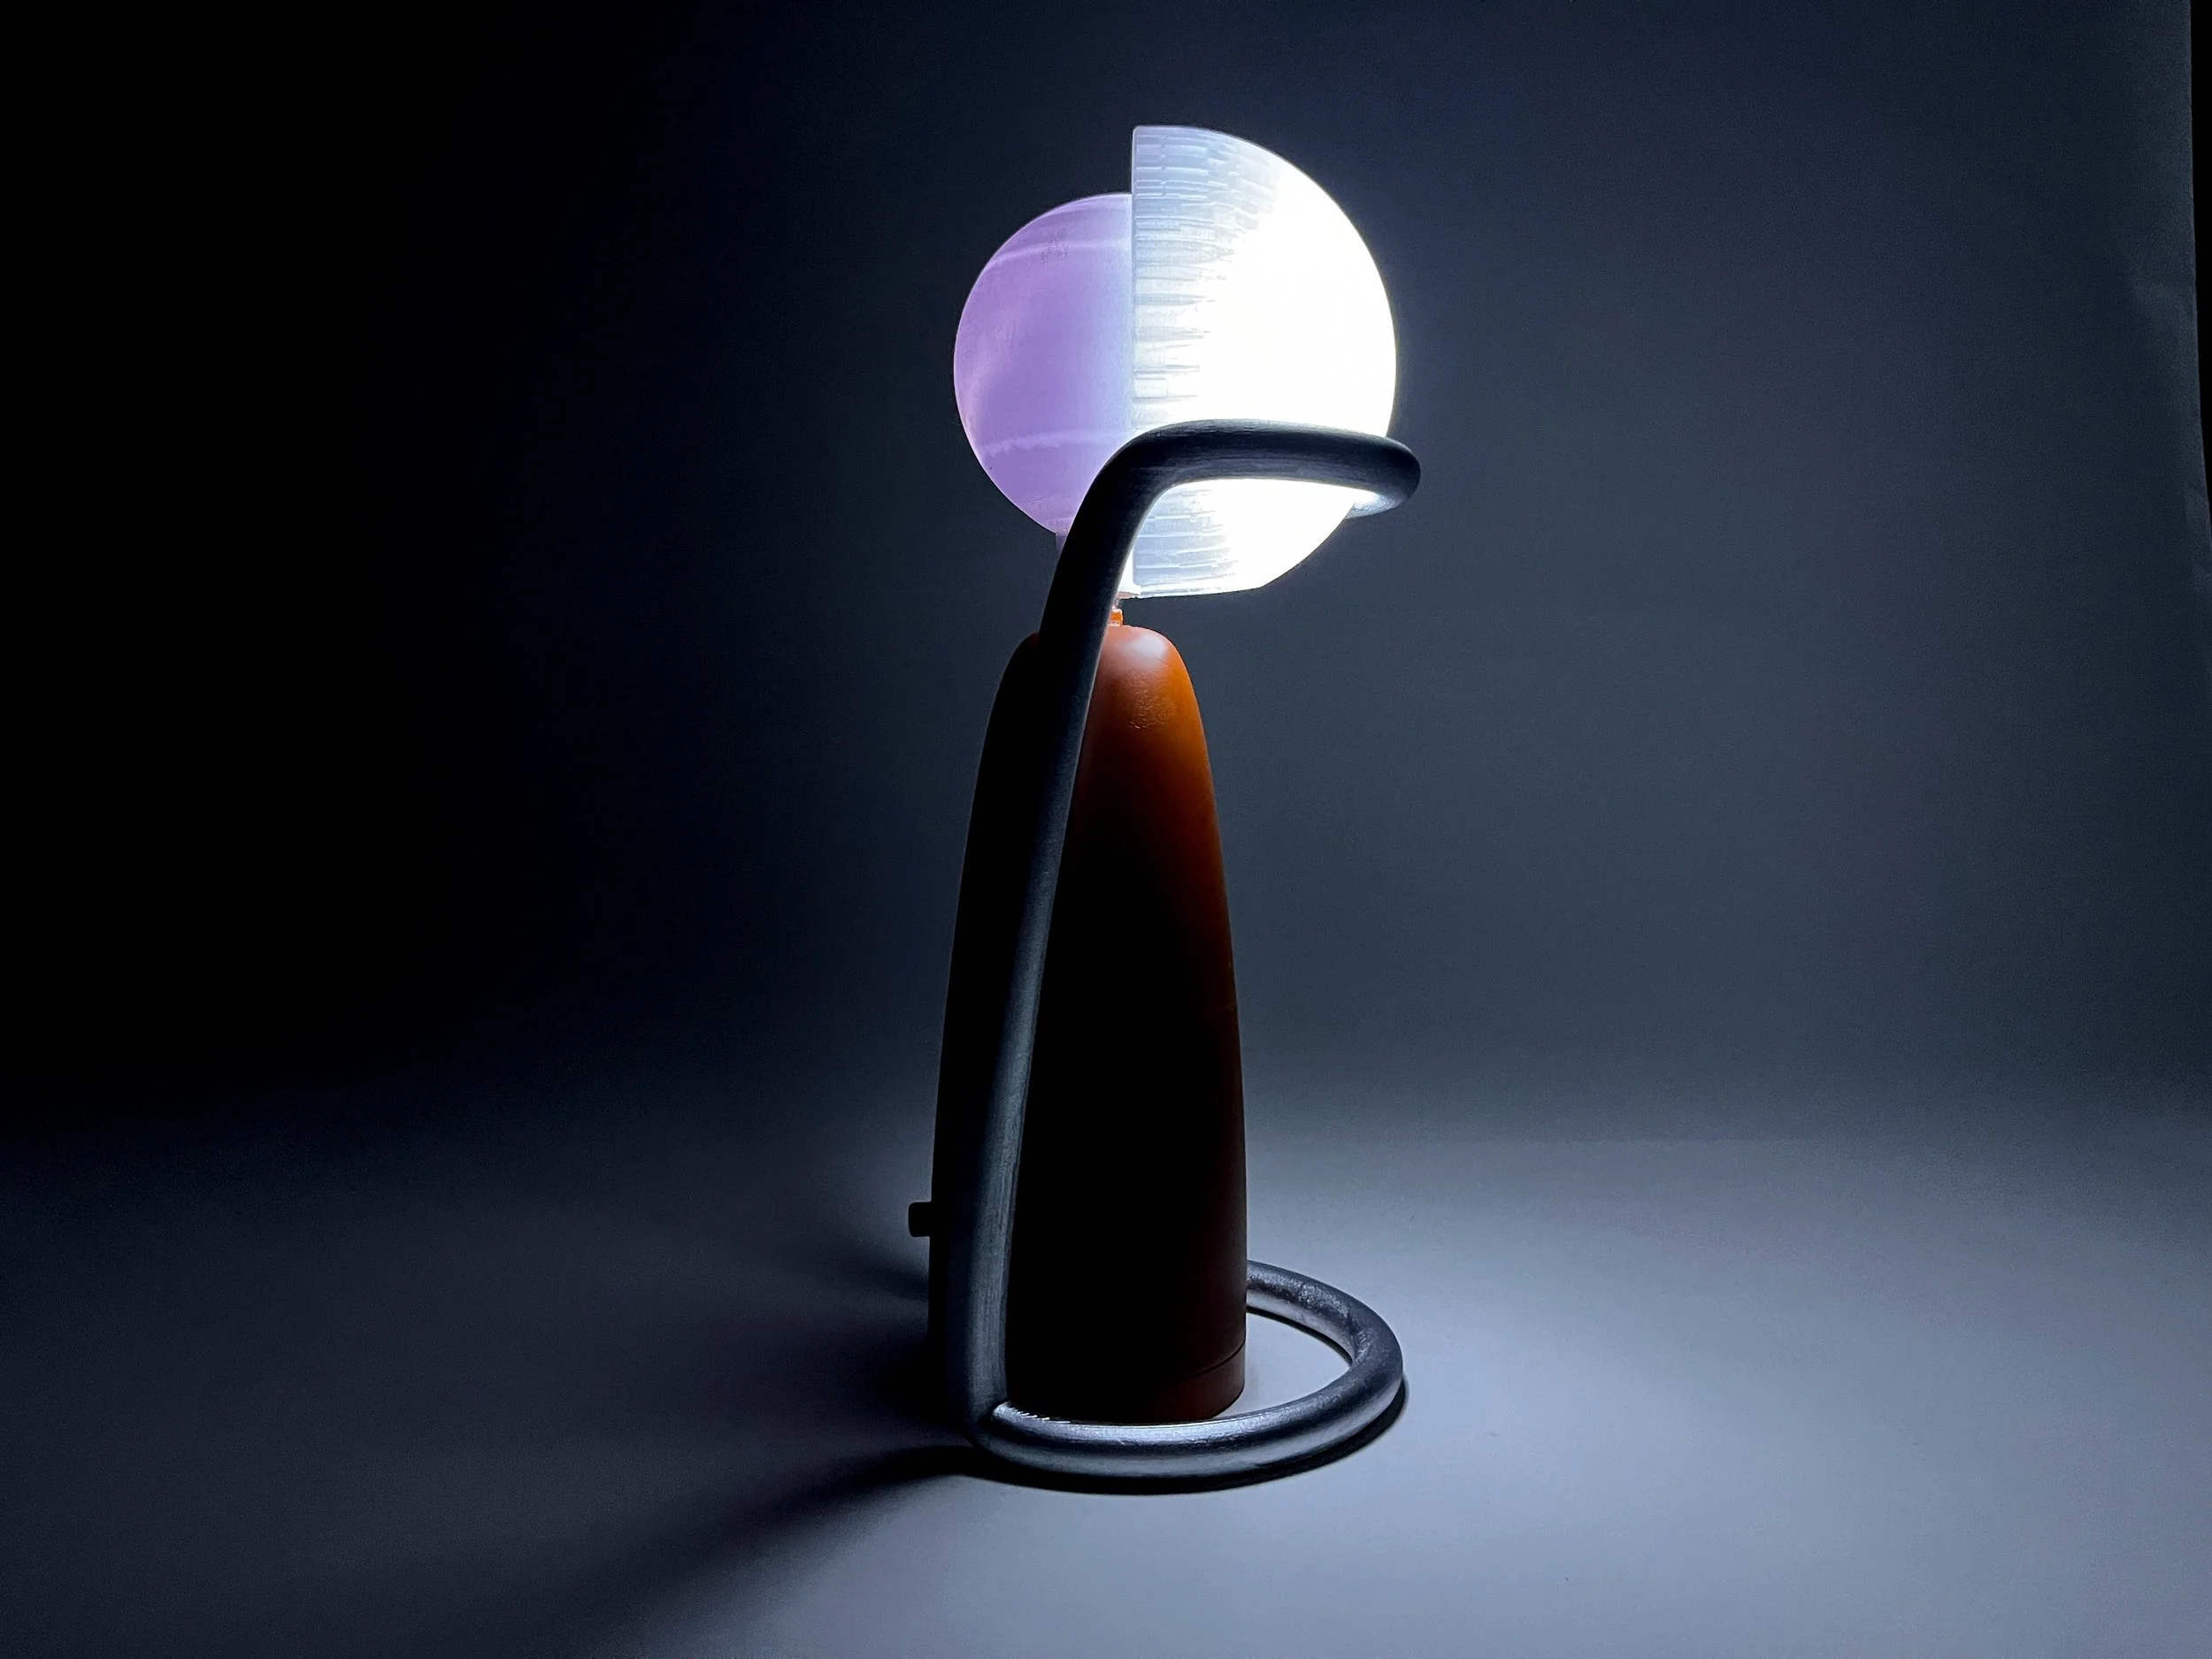
inspired by the things that bring me the most comfort, I wanted to create a lamp that provides a calming ambient glow to any room it’s in. just like a hug, this lamp has two components. the first component is the spotlight, on it’s own it emanates a light that that can be adjusted to provide pointed light in the desired direction. the second component acts as a sculptural piece when it is not in use. however, when the the two pieces join together and hug, a warm ambient glow fills the room.
fall studio 2024
duration: five weeks
What is the meaning of a hug?
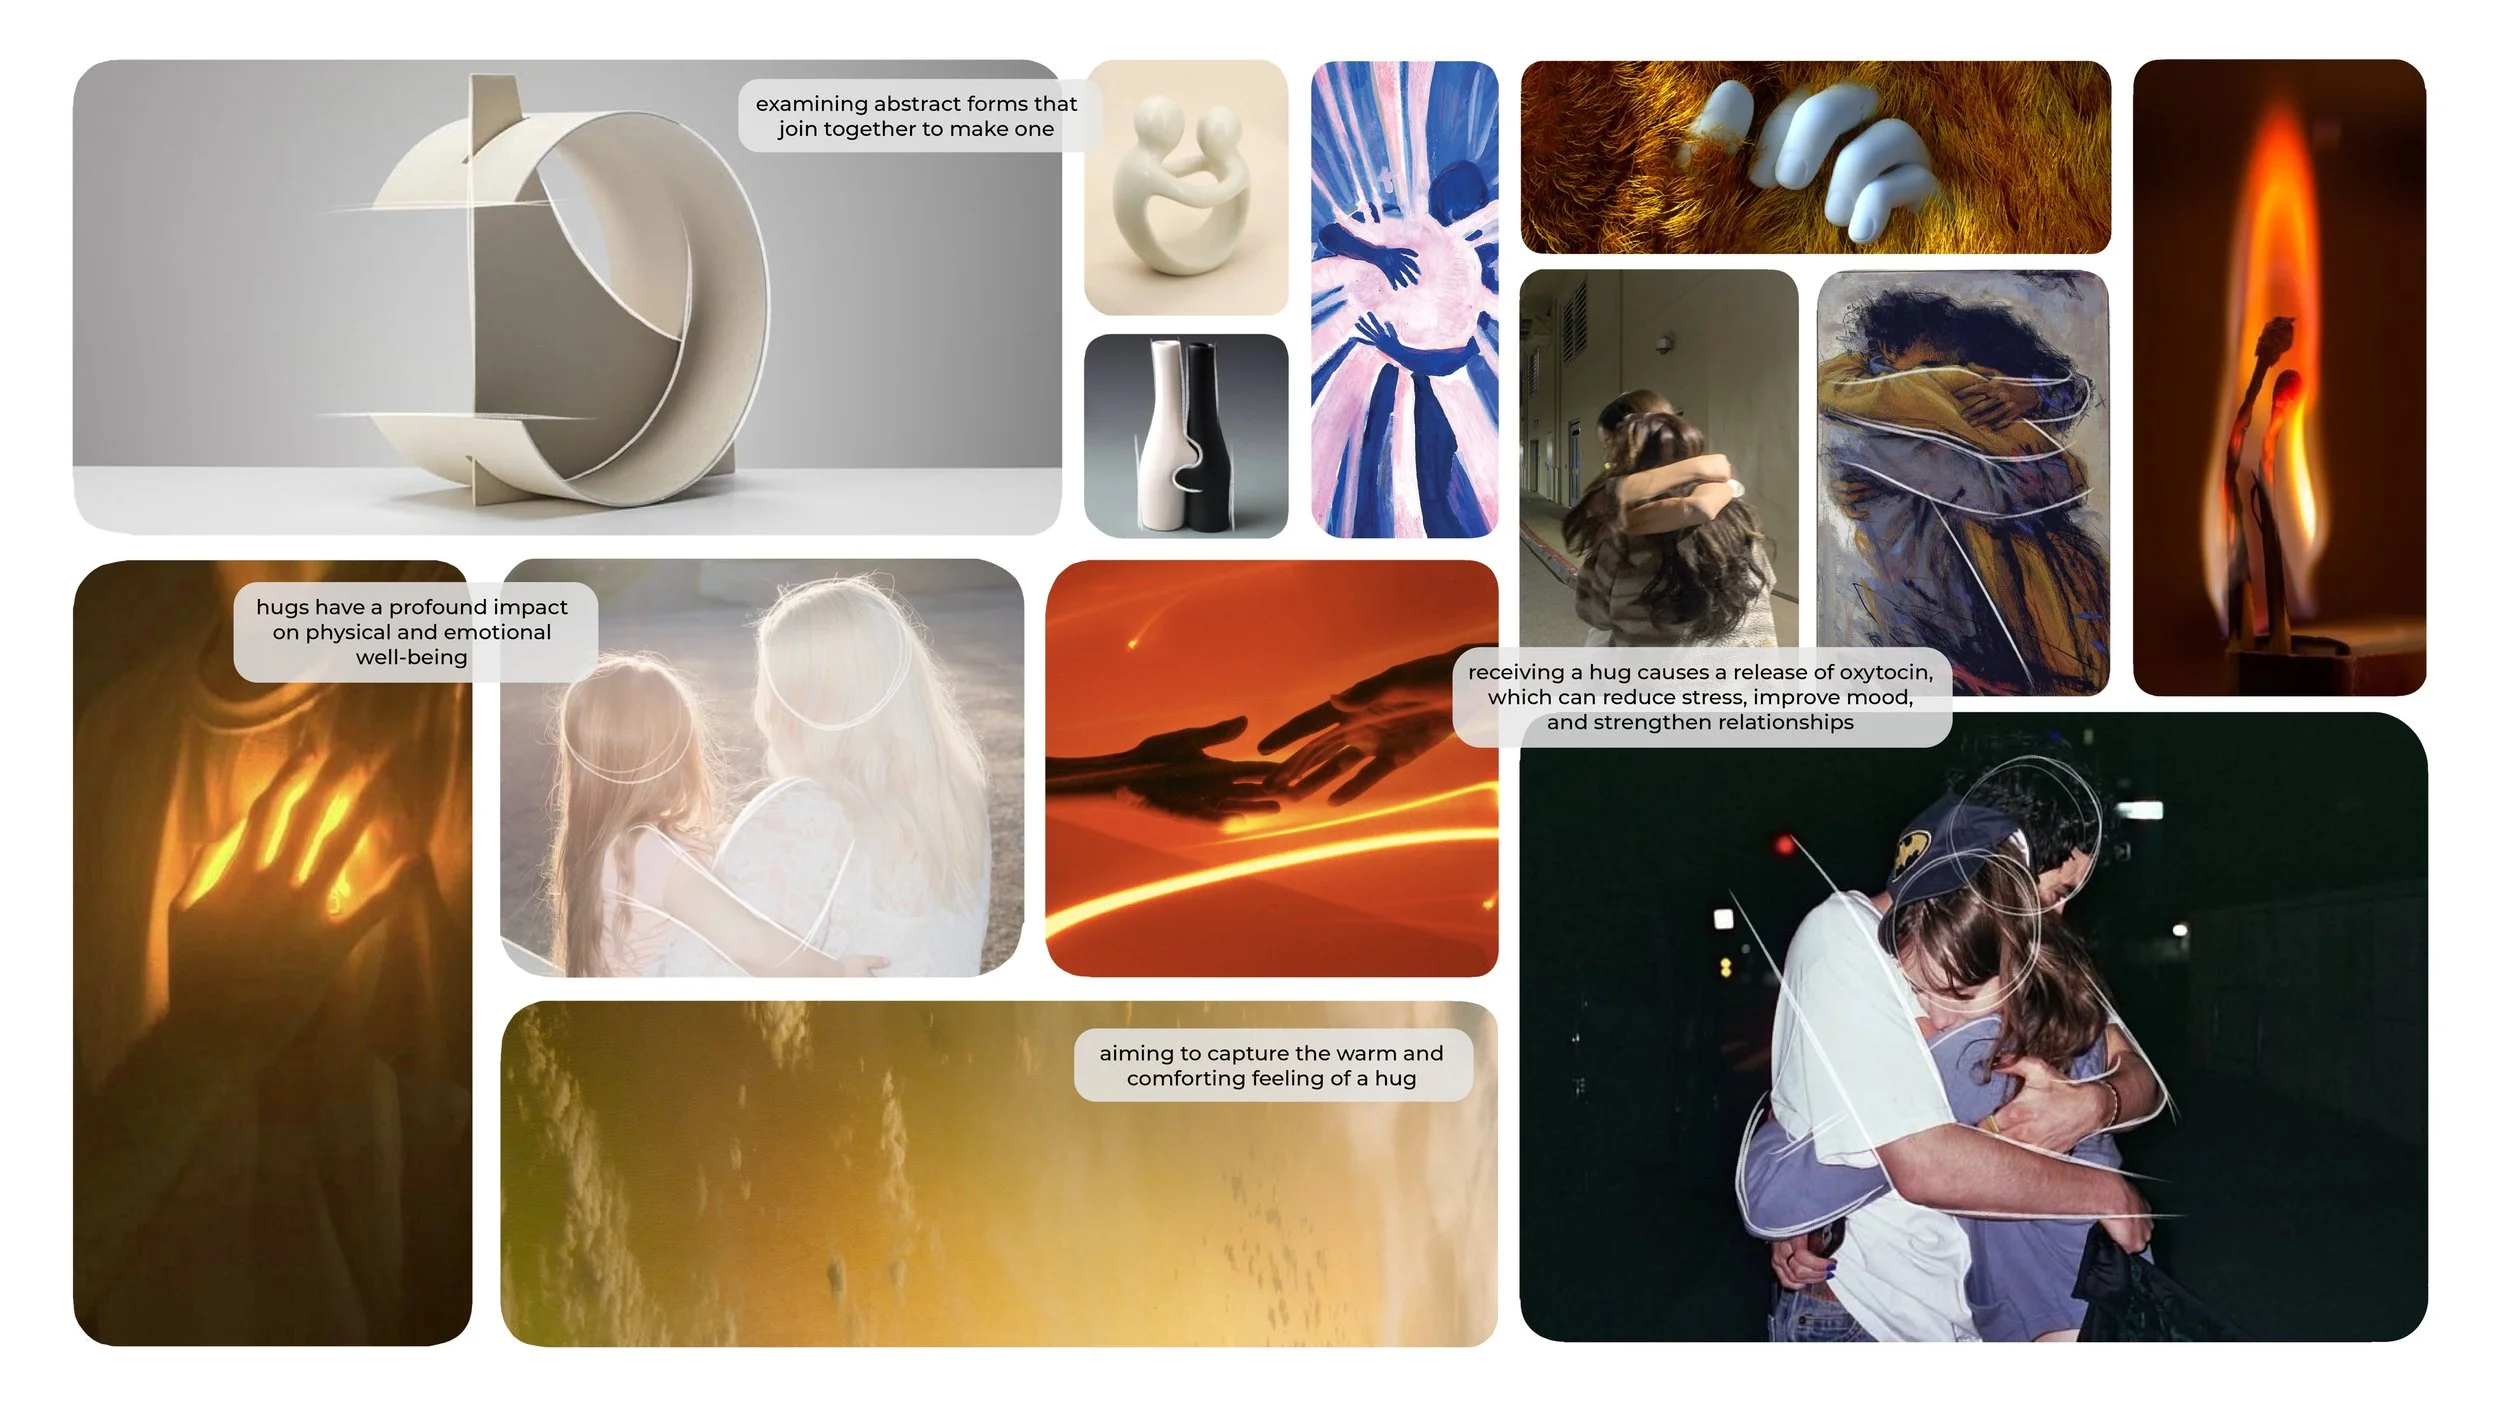
to start the design process for my lamp, I began by creating a moodboard that visually represented what a hug means to me. my goal was to capture the essence of a hug. the form, emotion, and the overall experience it evokes. I selected images I resonated with, choosing only the ones that reminded me of that warm, comforting feeling I get when I am hugging someone.
Design Goals
Warm + Focused Lighting
what i want to highlight in this lamp
Two Forms Become One
Capturing the Warmth of a Hug
Design Intent
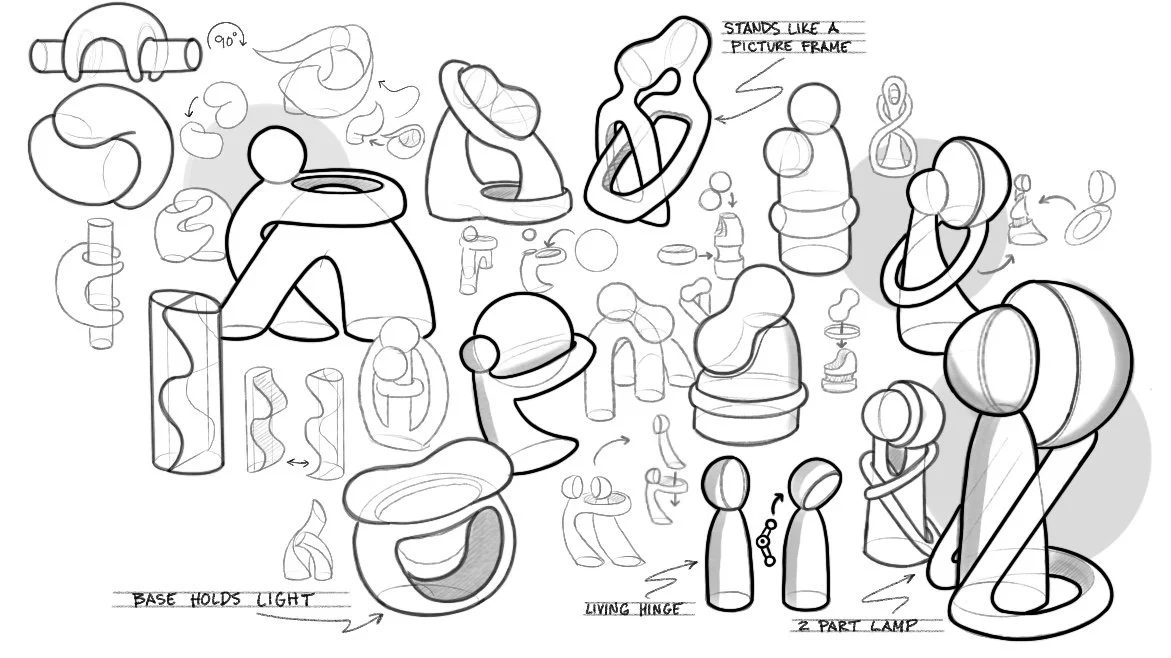
new final sketch with explanations of final design intents
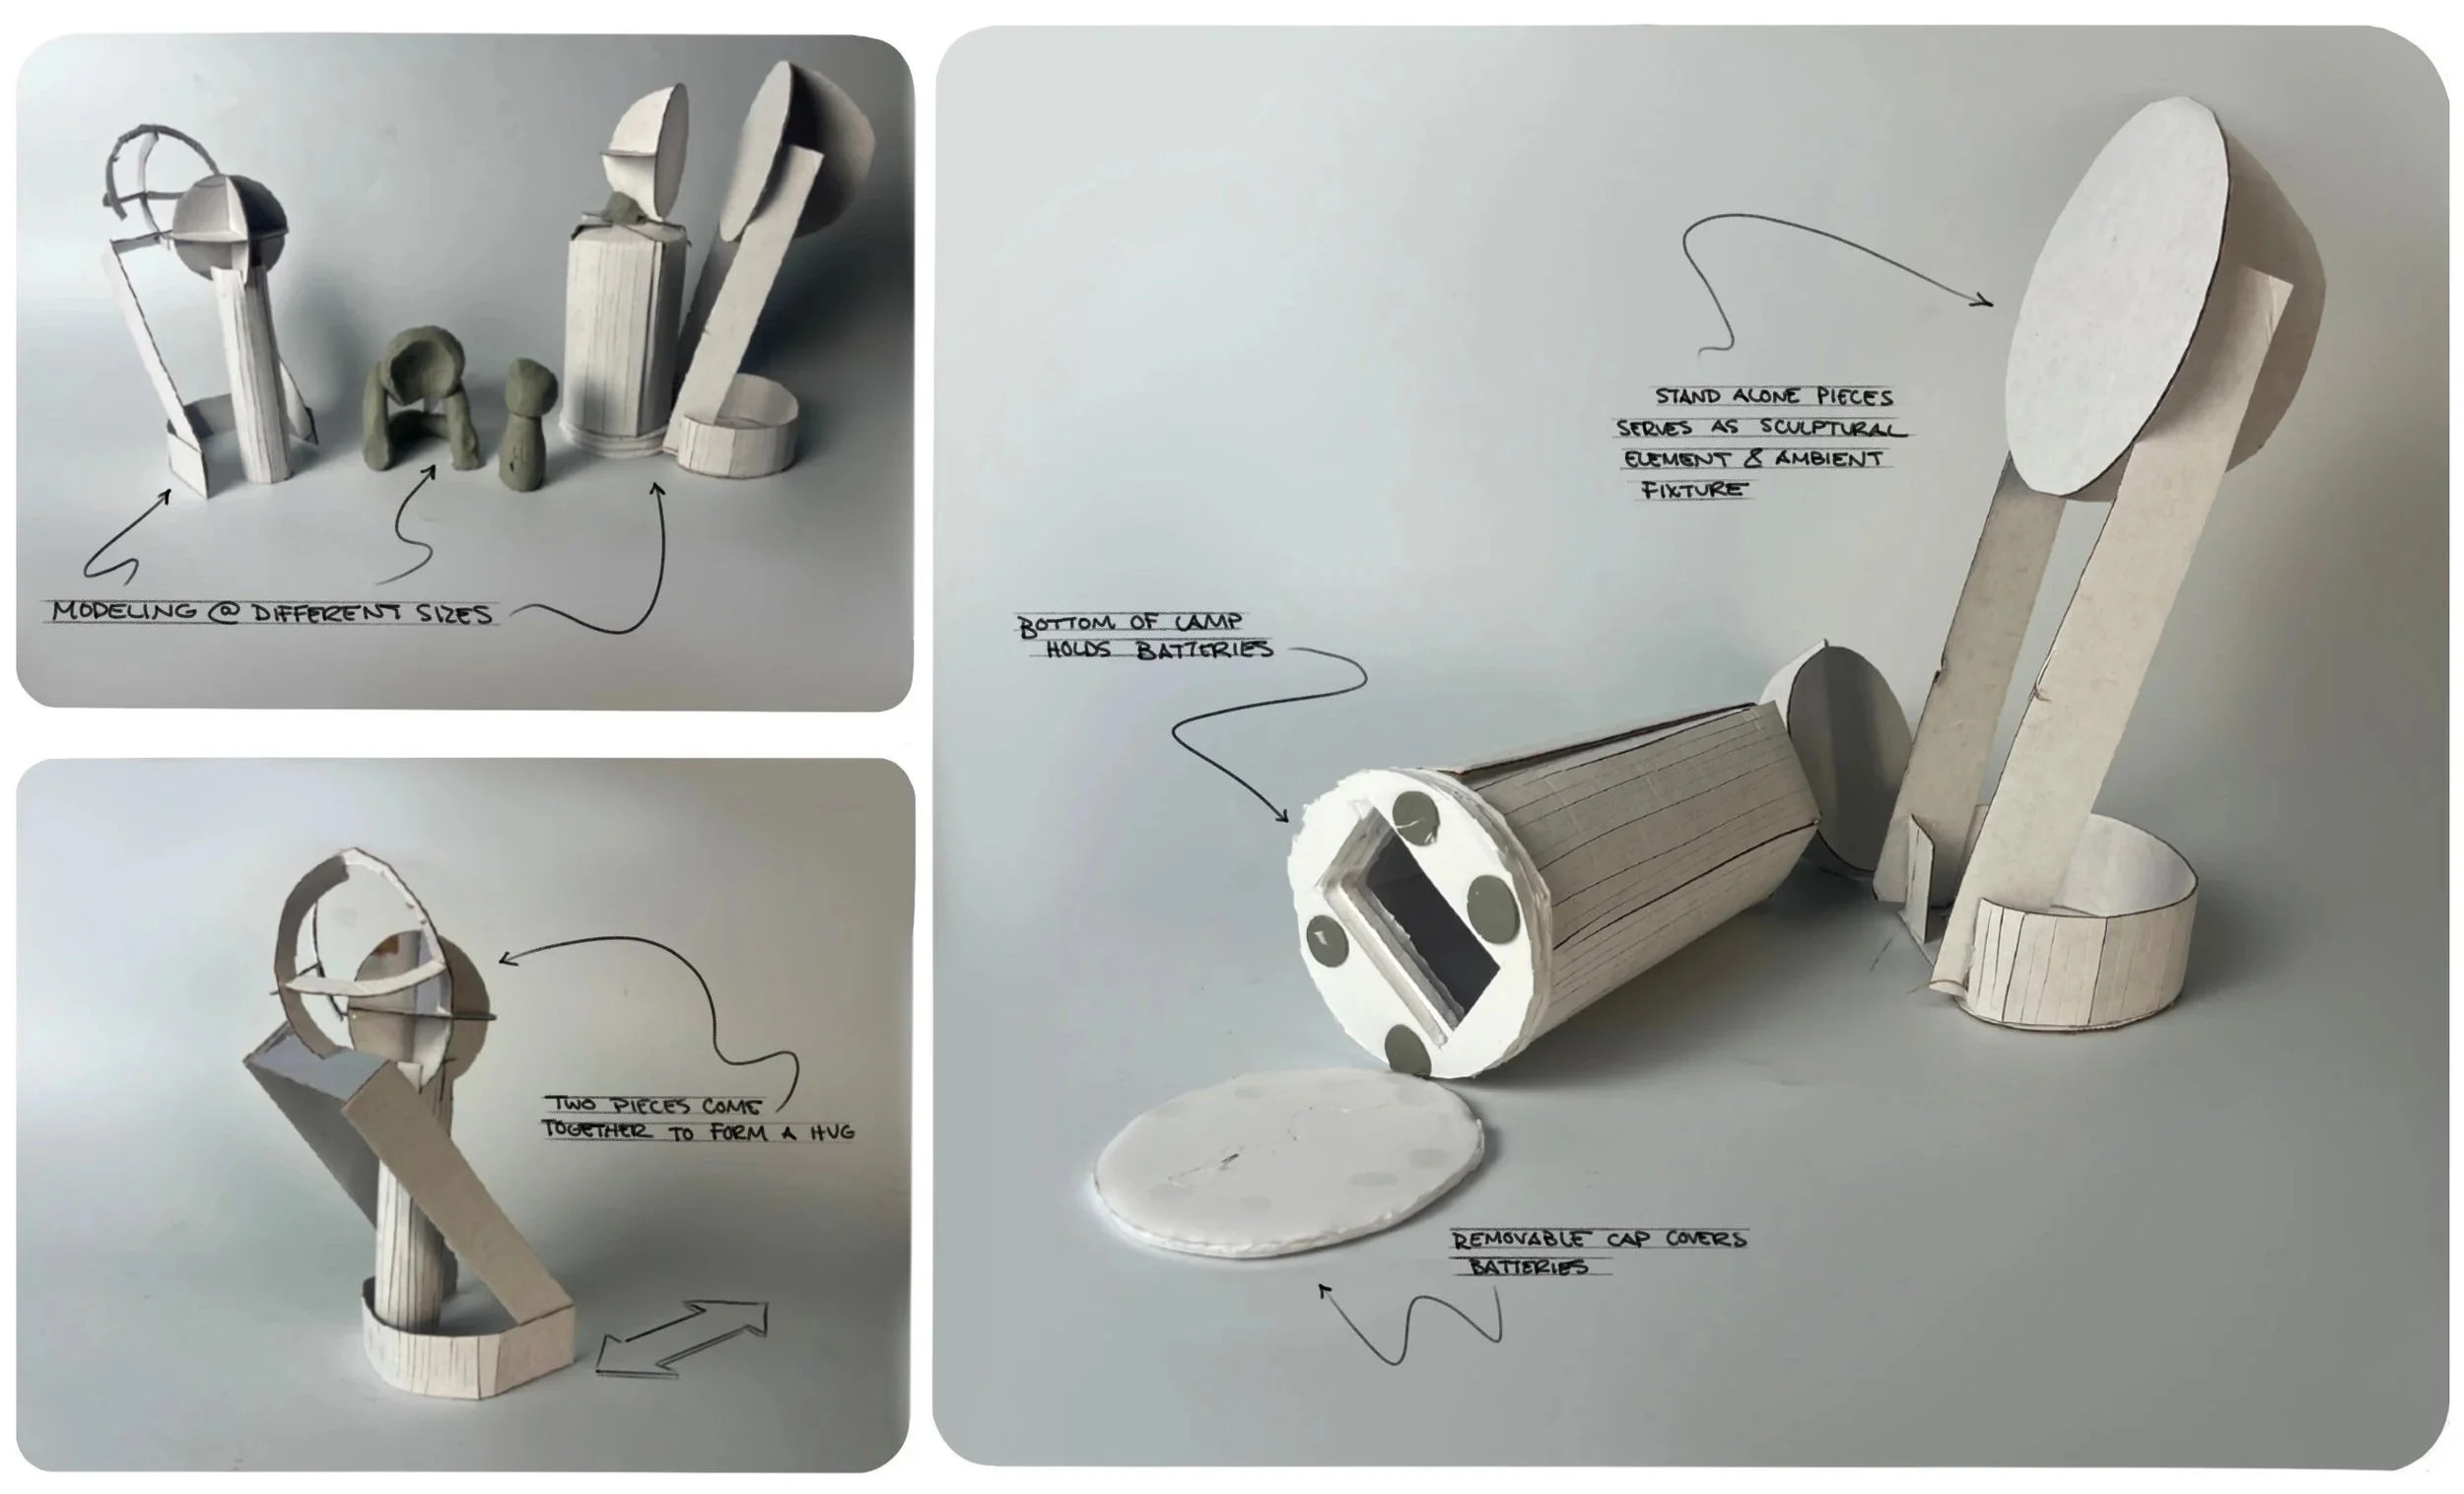
Low Fid Scale Modeling
after finalizing my concept and creating the final design direction, I created multiple medium fidelity models to test out what scale I wanted my lamp to be. after making three different models, I decided to go with the largest possible option, so light can cover more surface area.
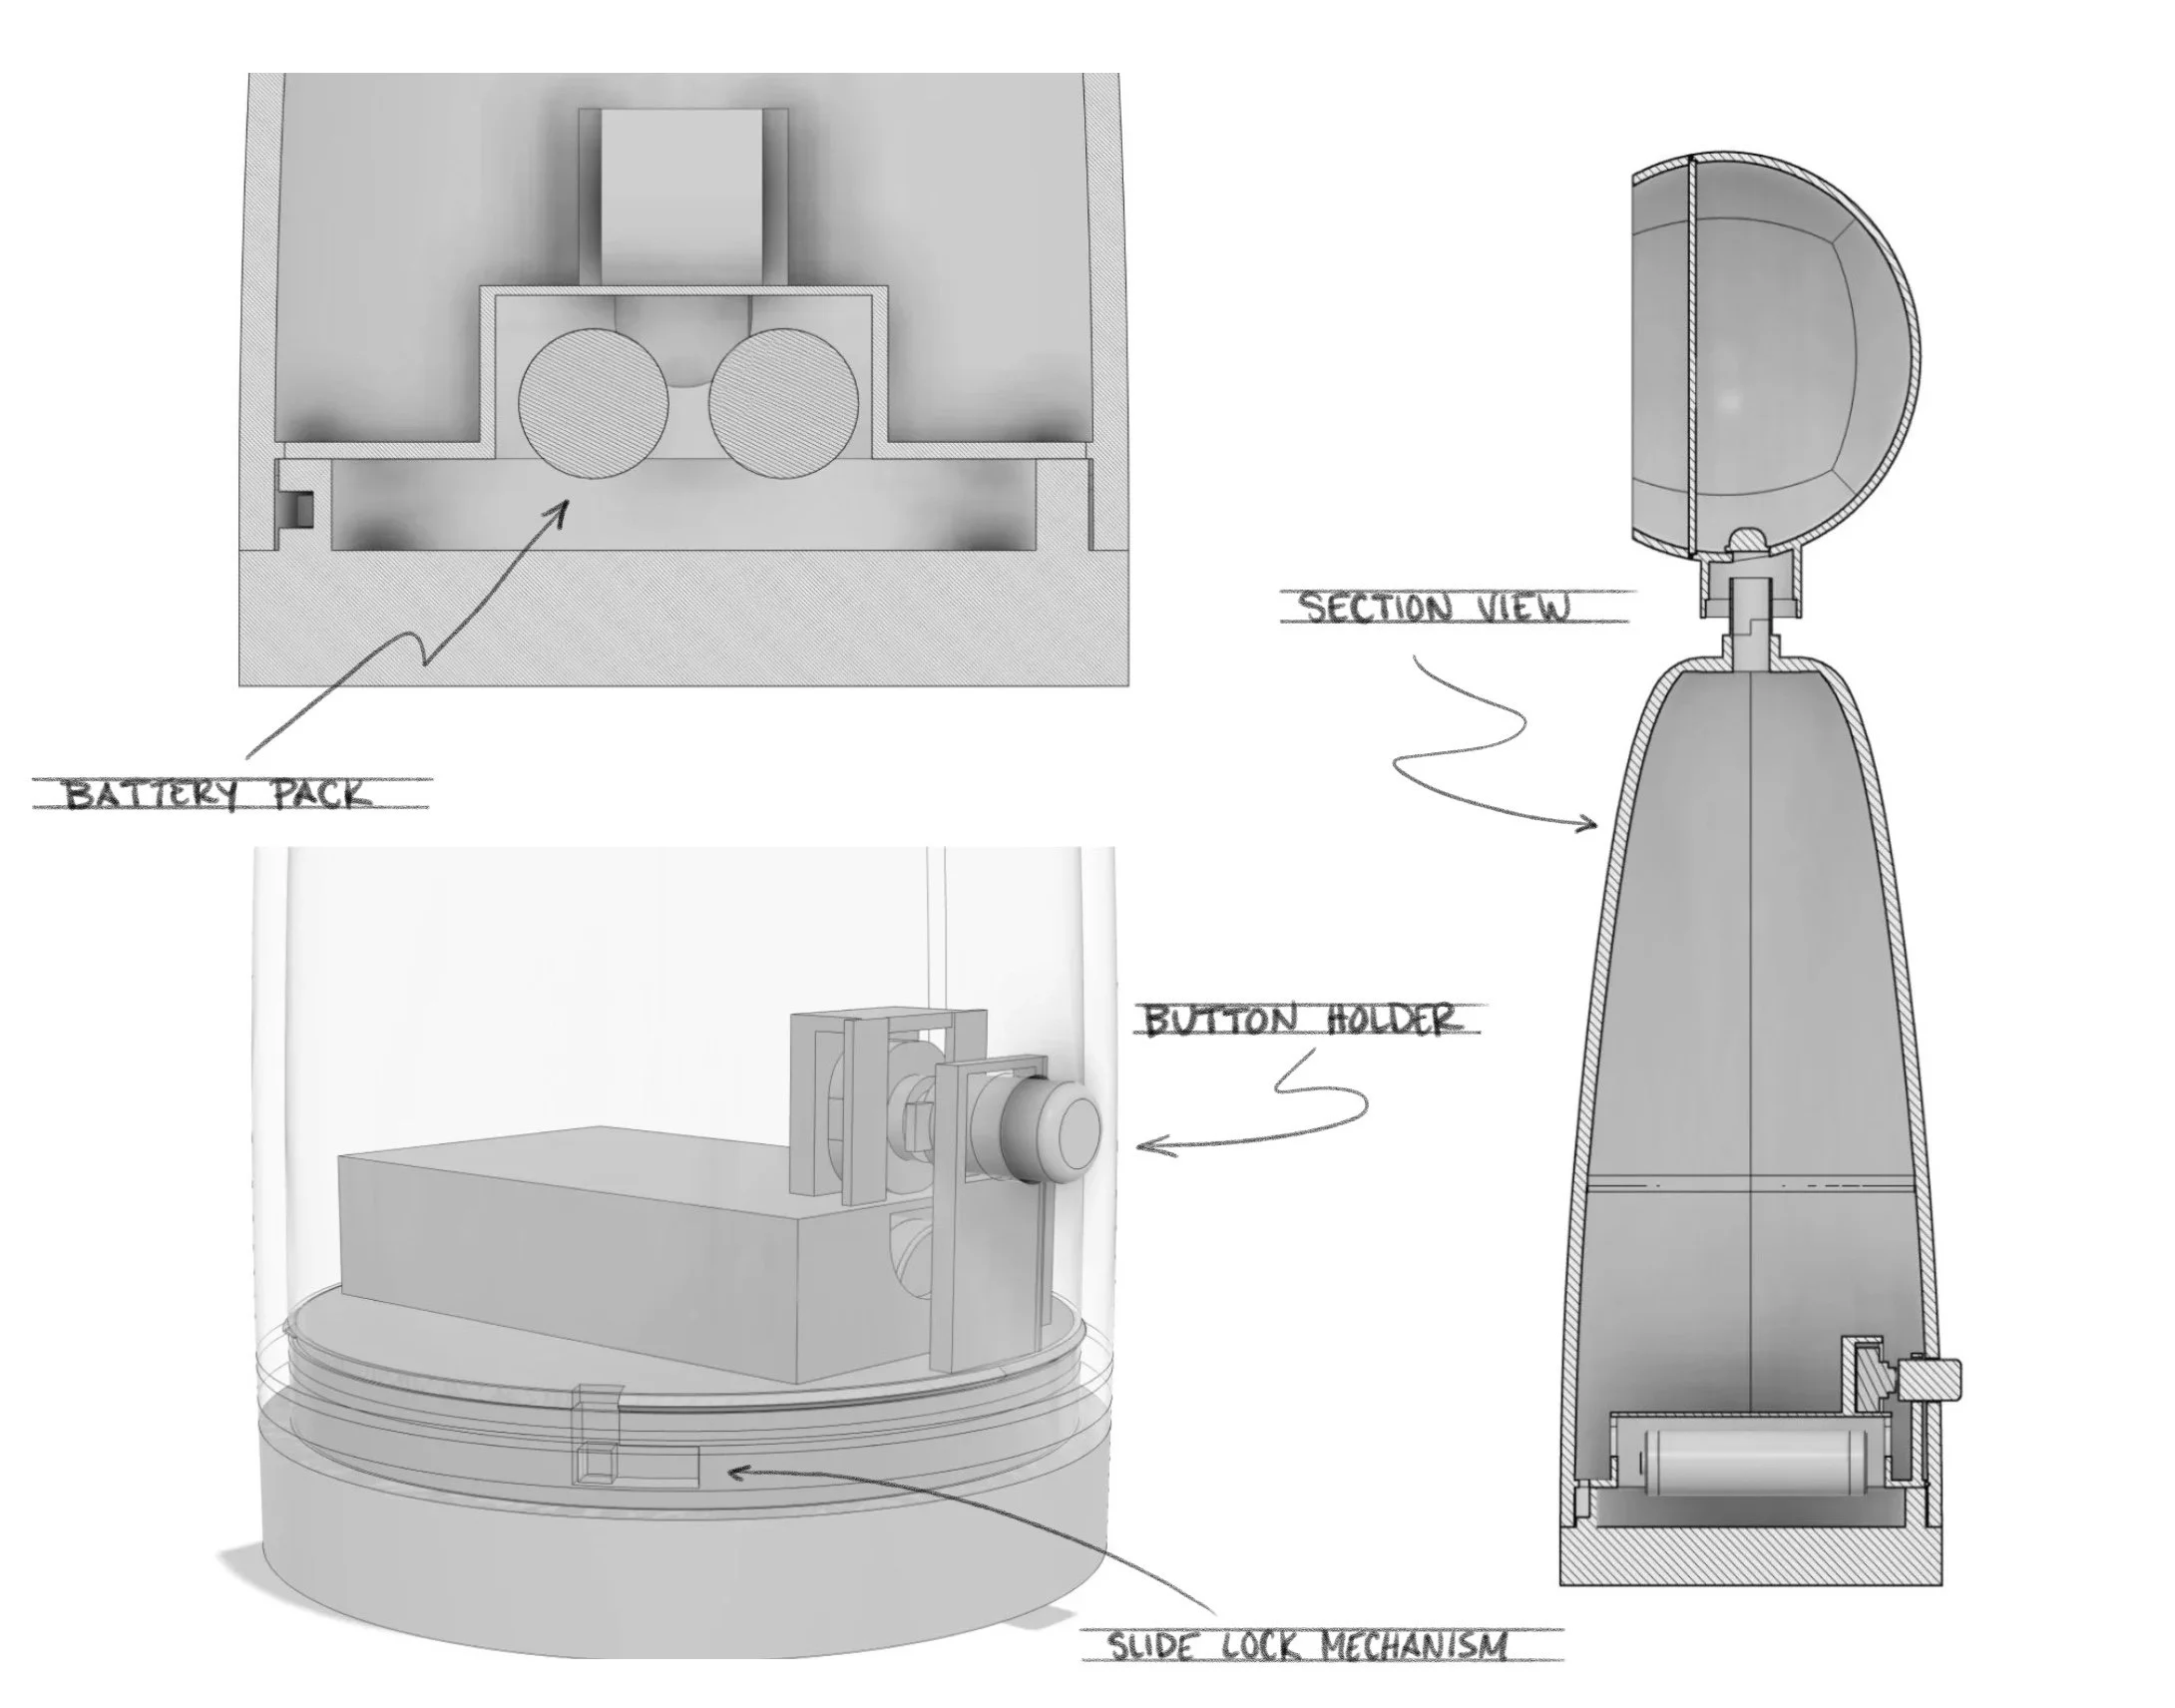
CAD Modeling
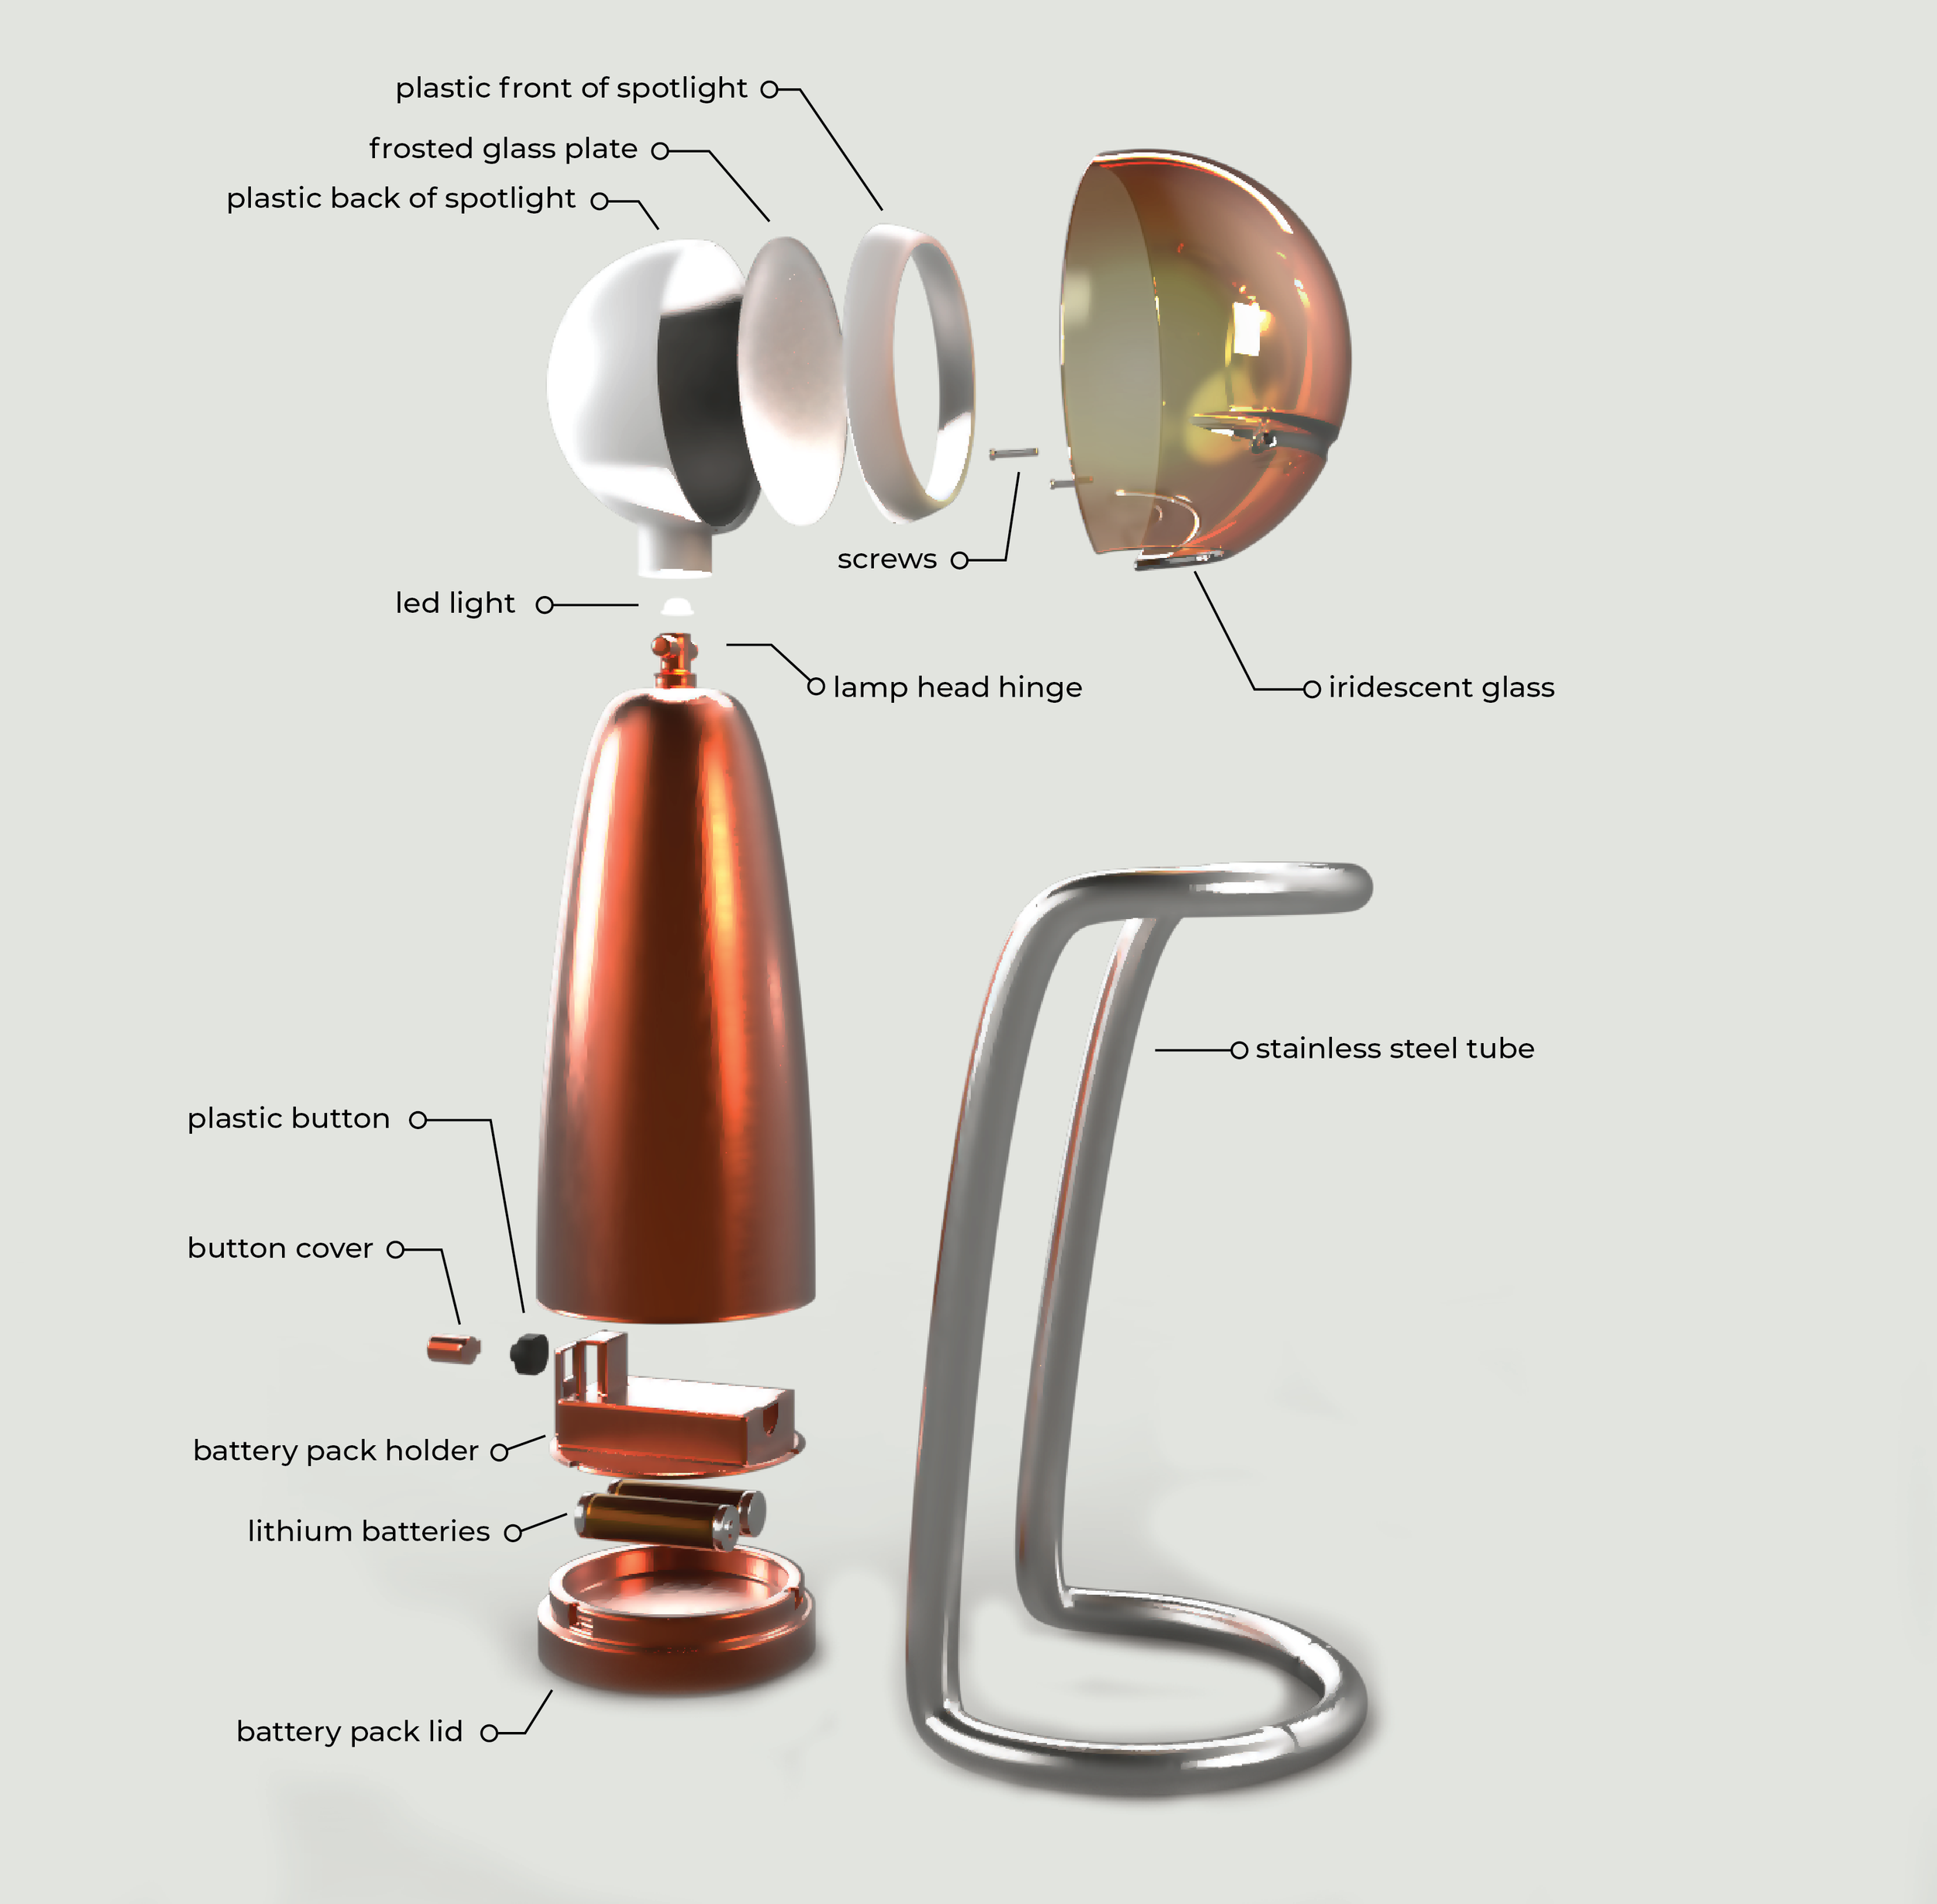
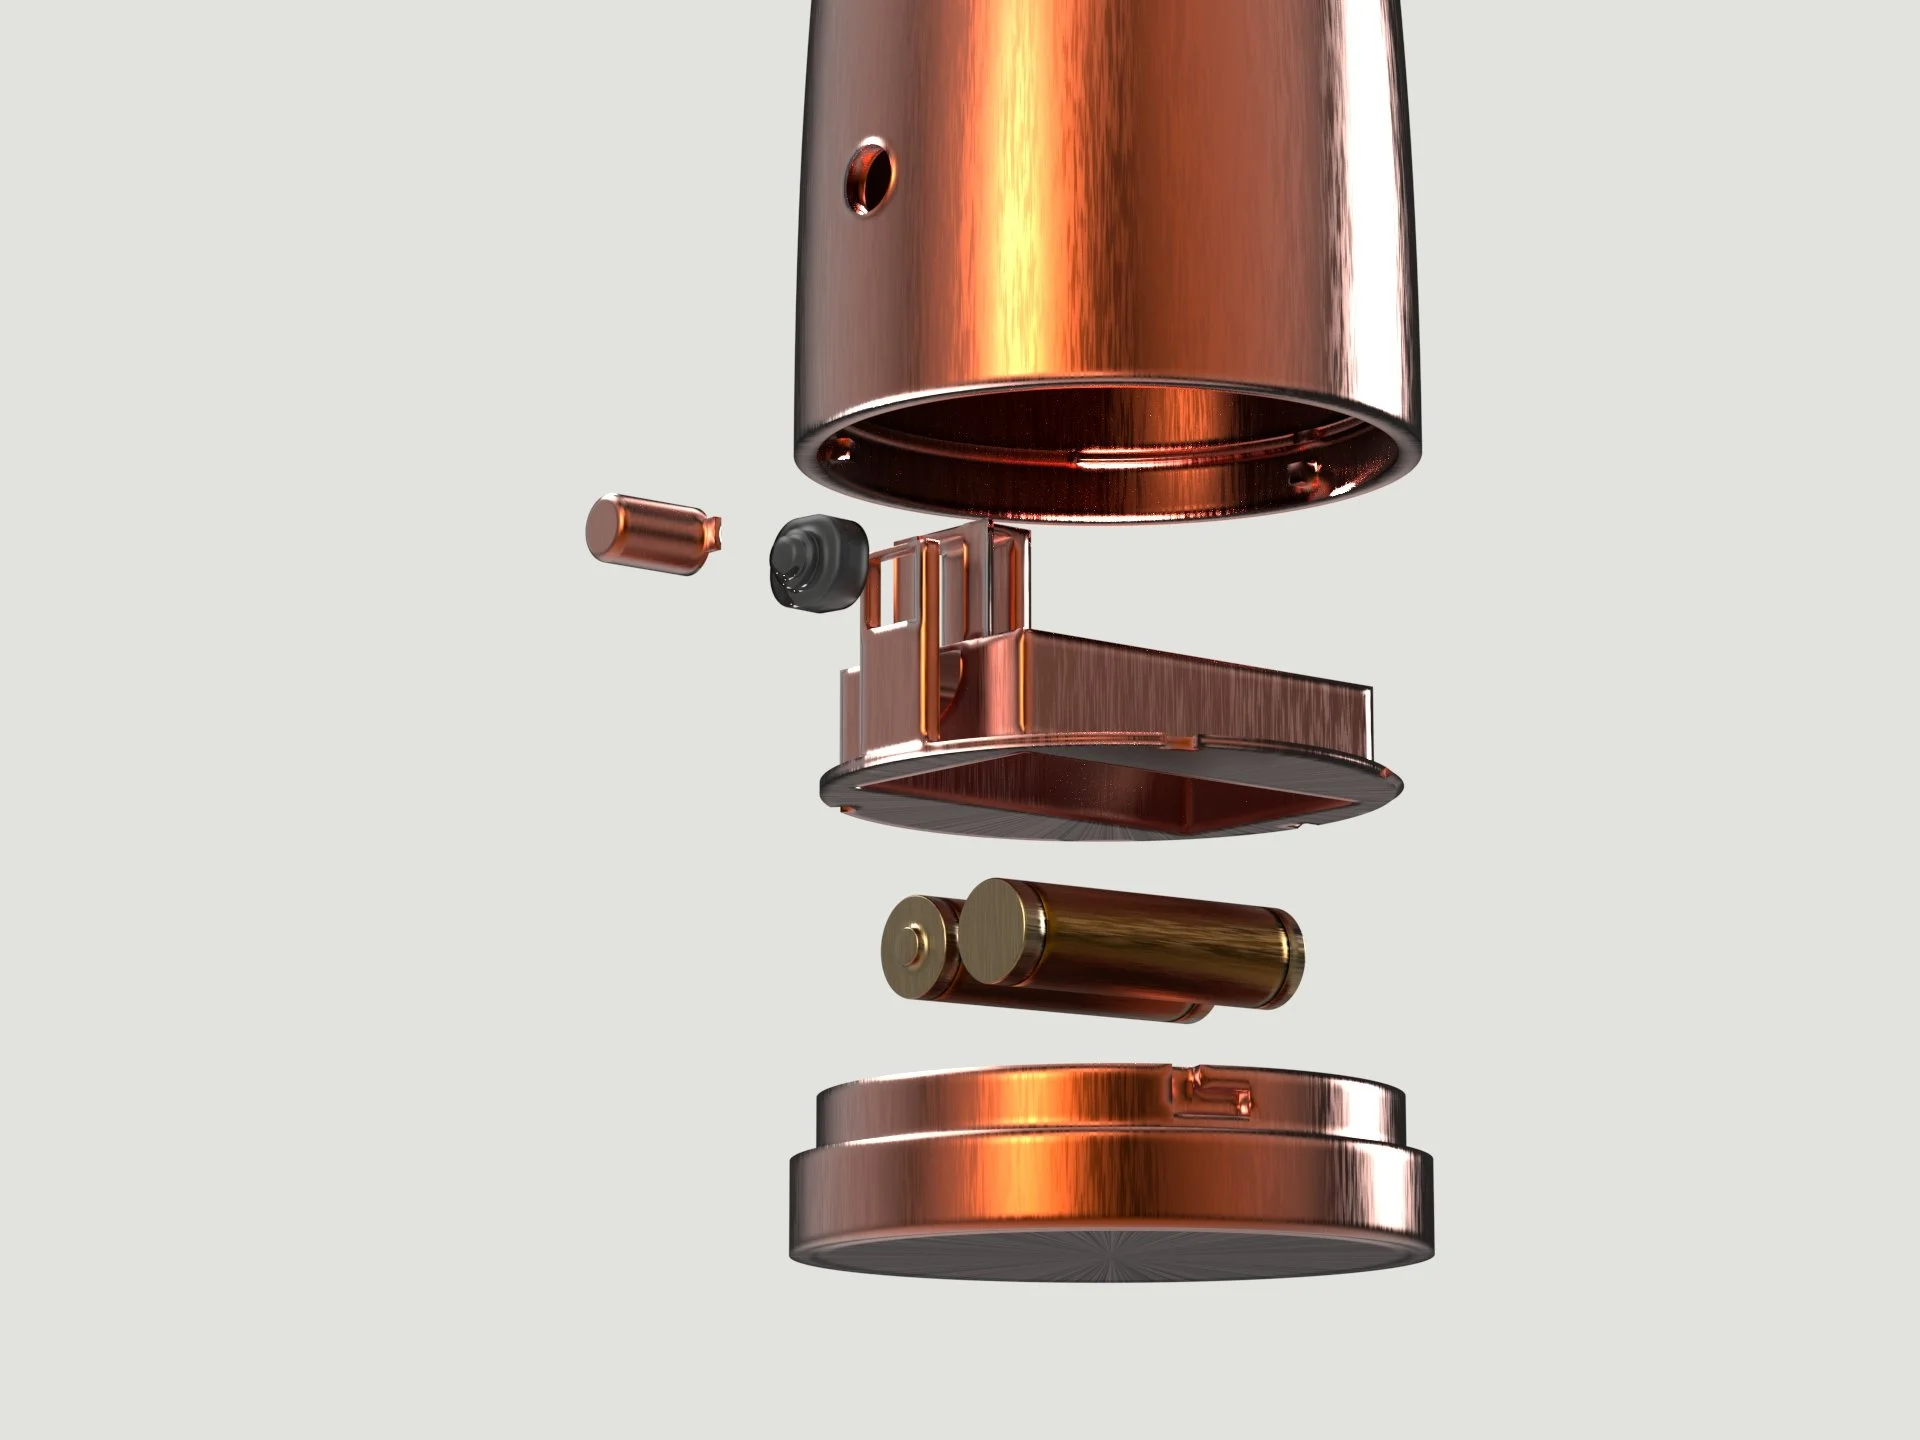
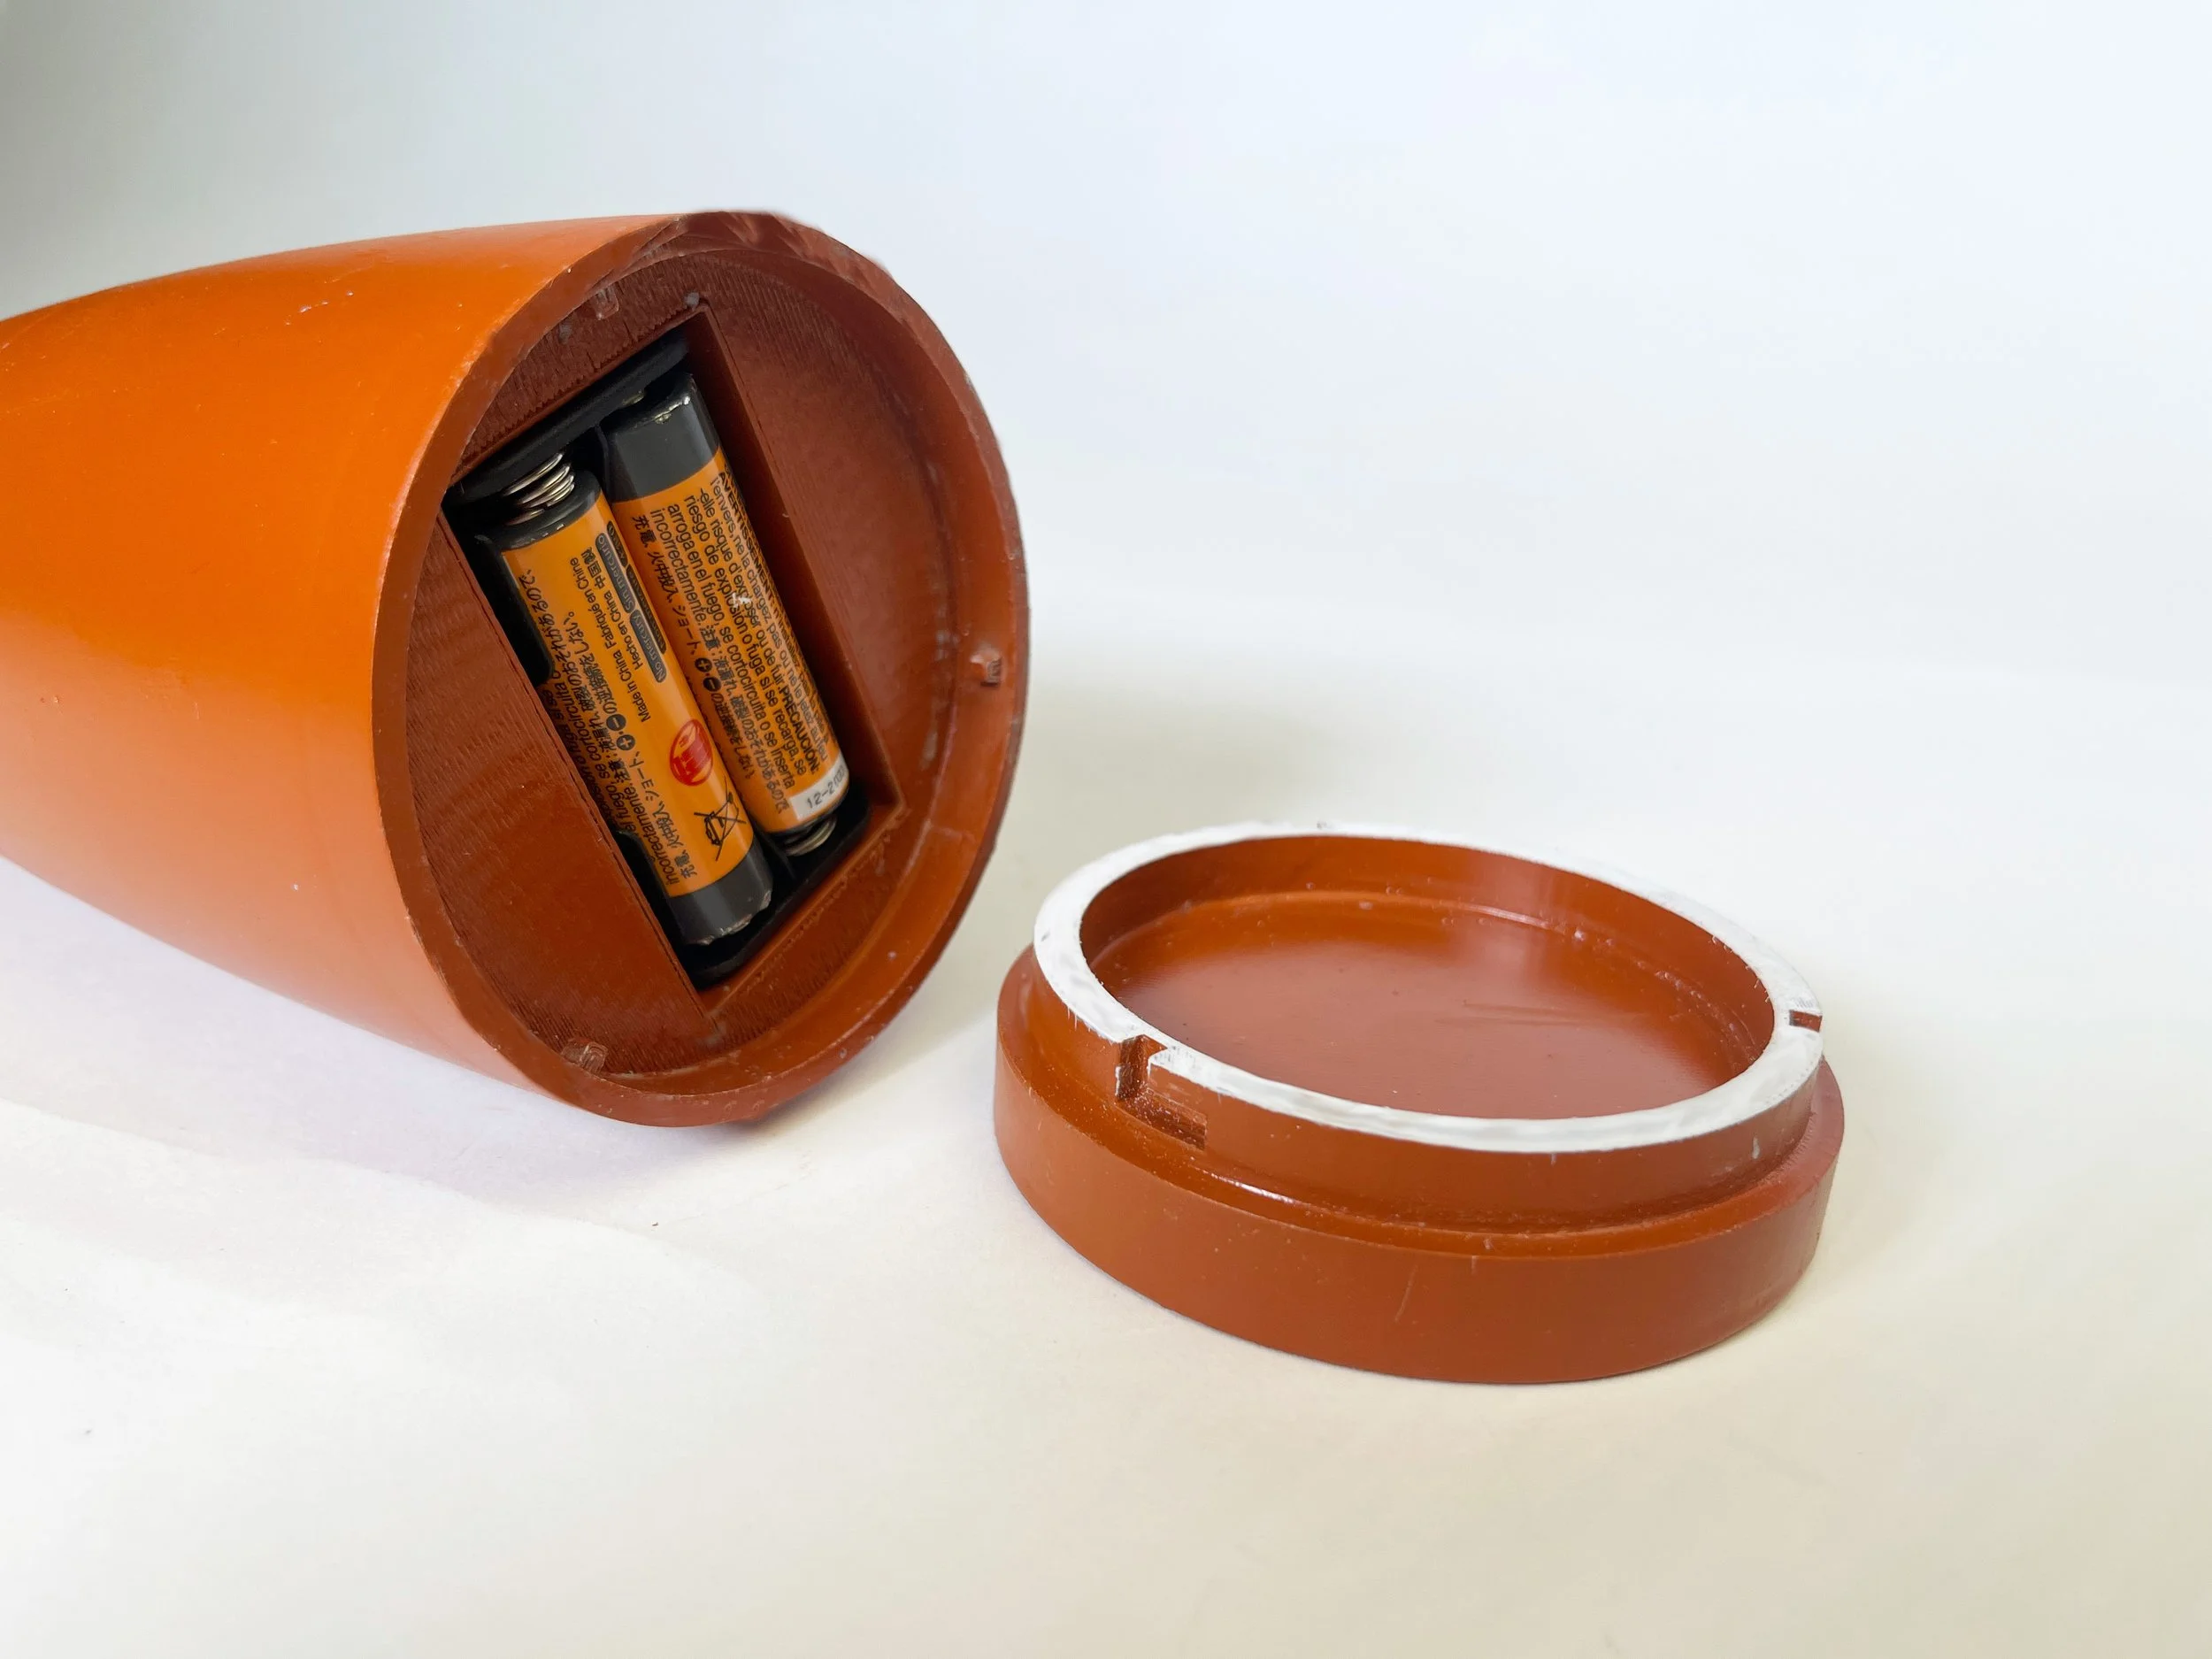
Once I settled on what scale I wanted to create my lamp at, I began CAD modeling. I had to take into account the snap fit of the battery cover, how the battery pack would fit in, and how the wiring would work in the final model.
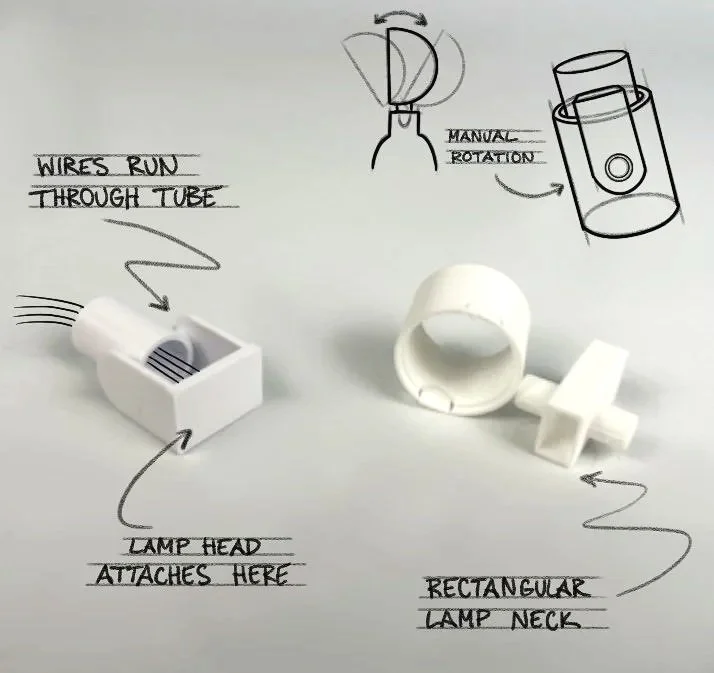
The Hinge.
When thinking about the concept of my lamp, I knew I wanted to have two different parts come together to create a warm glow. I began wondering: “What if when separated, one part serves a a spotlight for the user?”
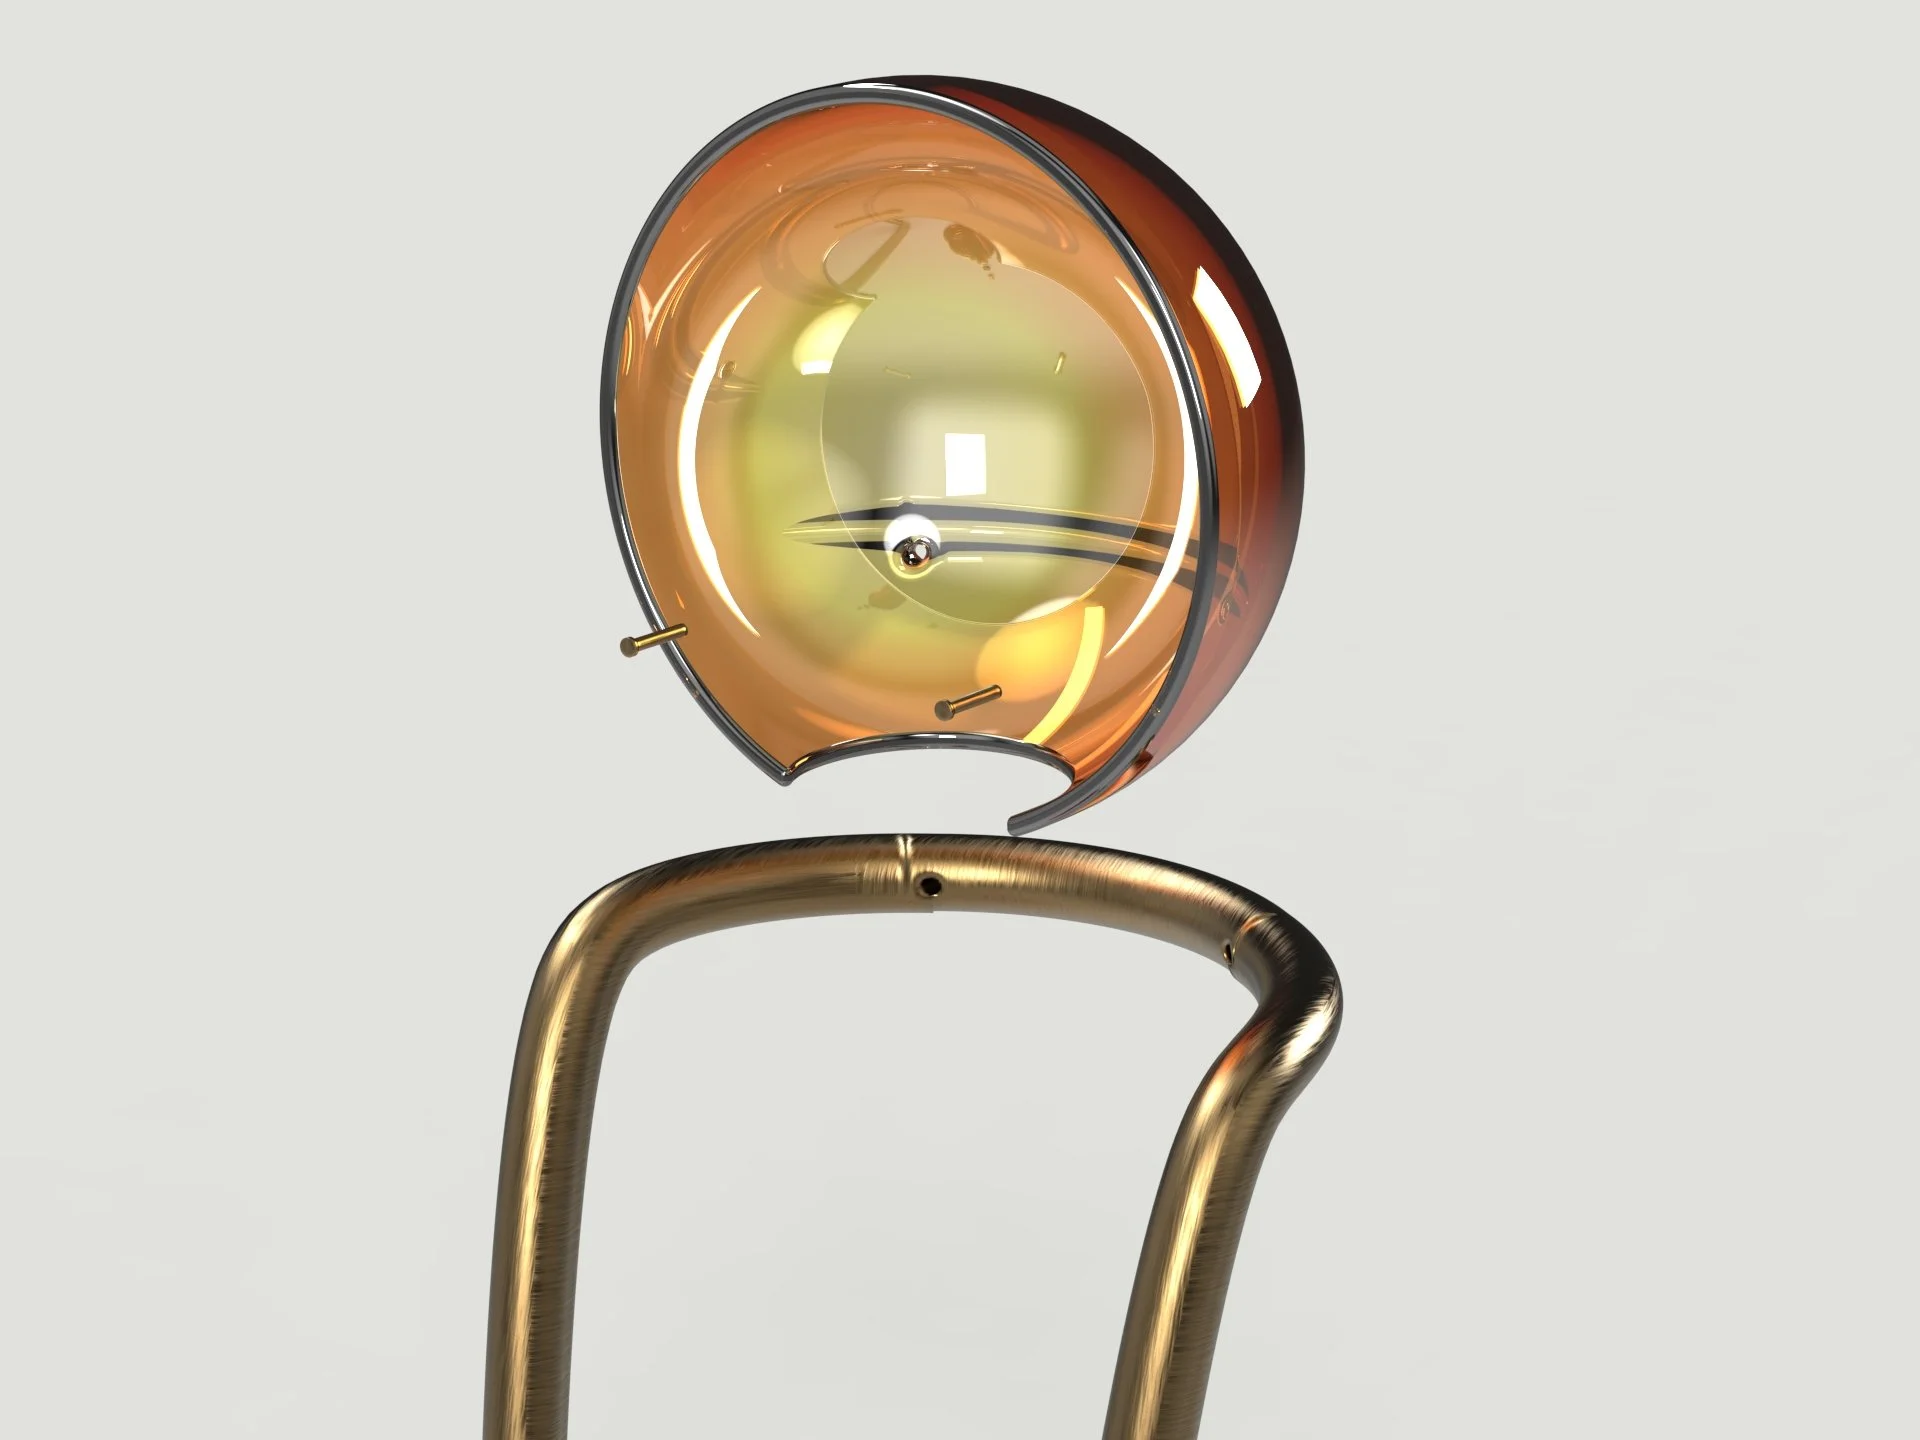
I wanted an adjustable spotlight to fit the users needs, so I began an exploration on how to create a living hinge that the wires could run through.
White Model Analysis.
After I modeled my lamp with CAD, I began the 3d printing process to create white models. once the models were printed, I created an analysis noting my next successes, places for improvement, and my next steps.
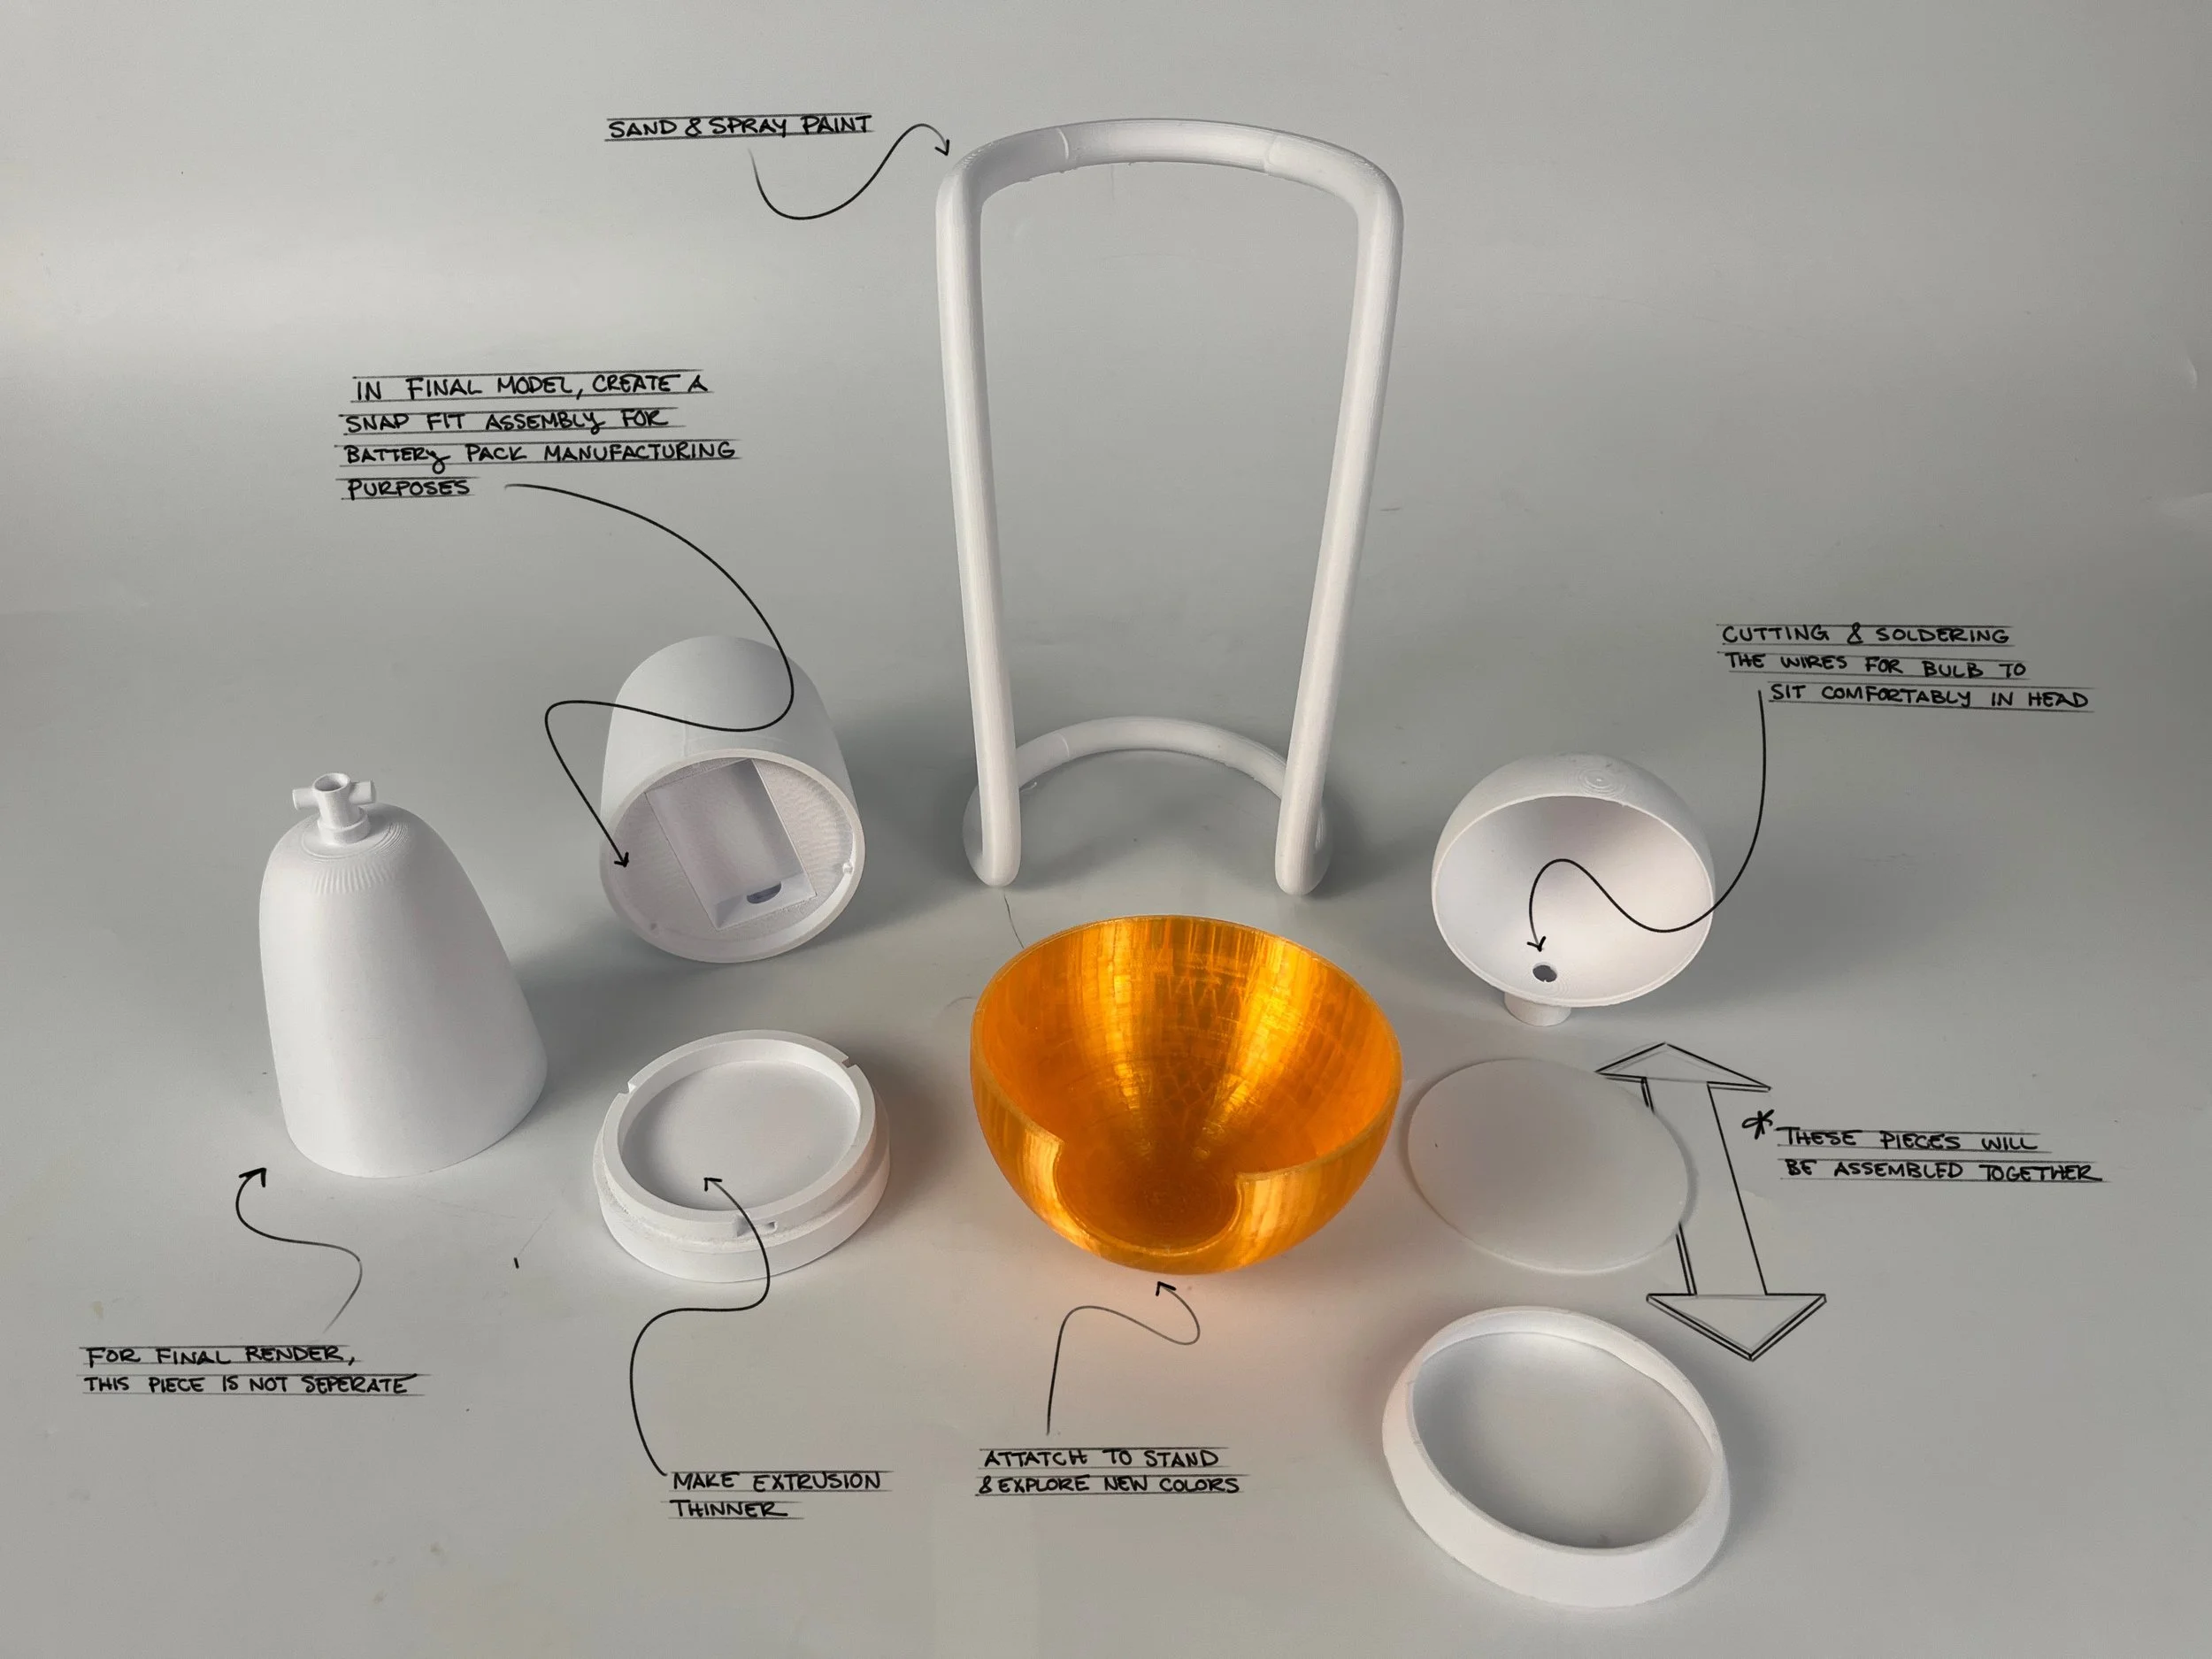
Product Assembly.
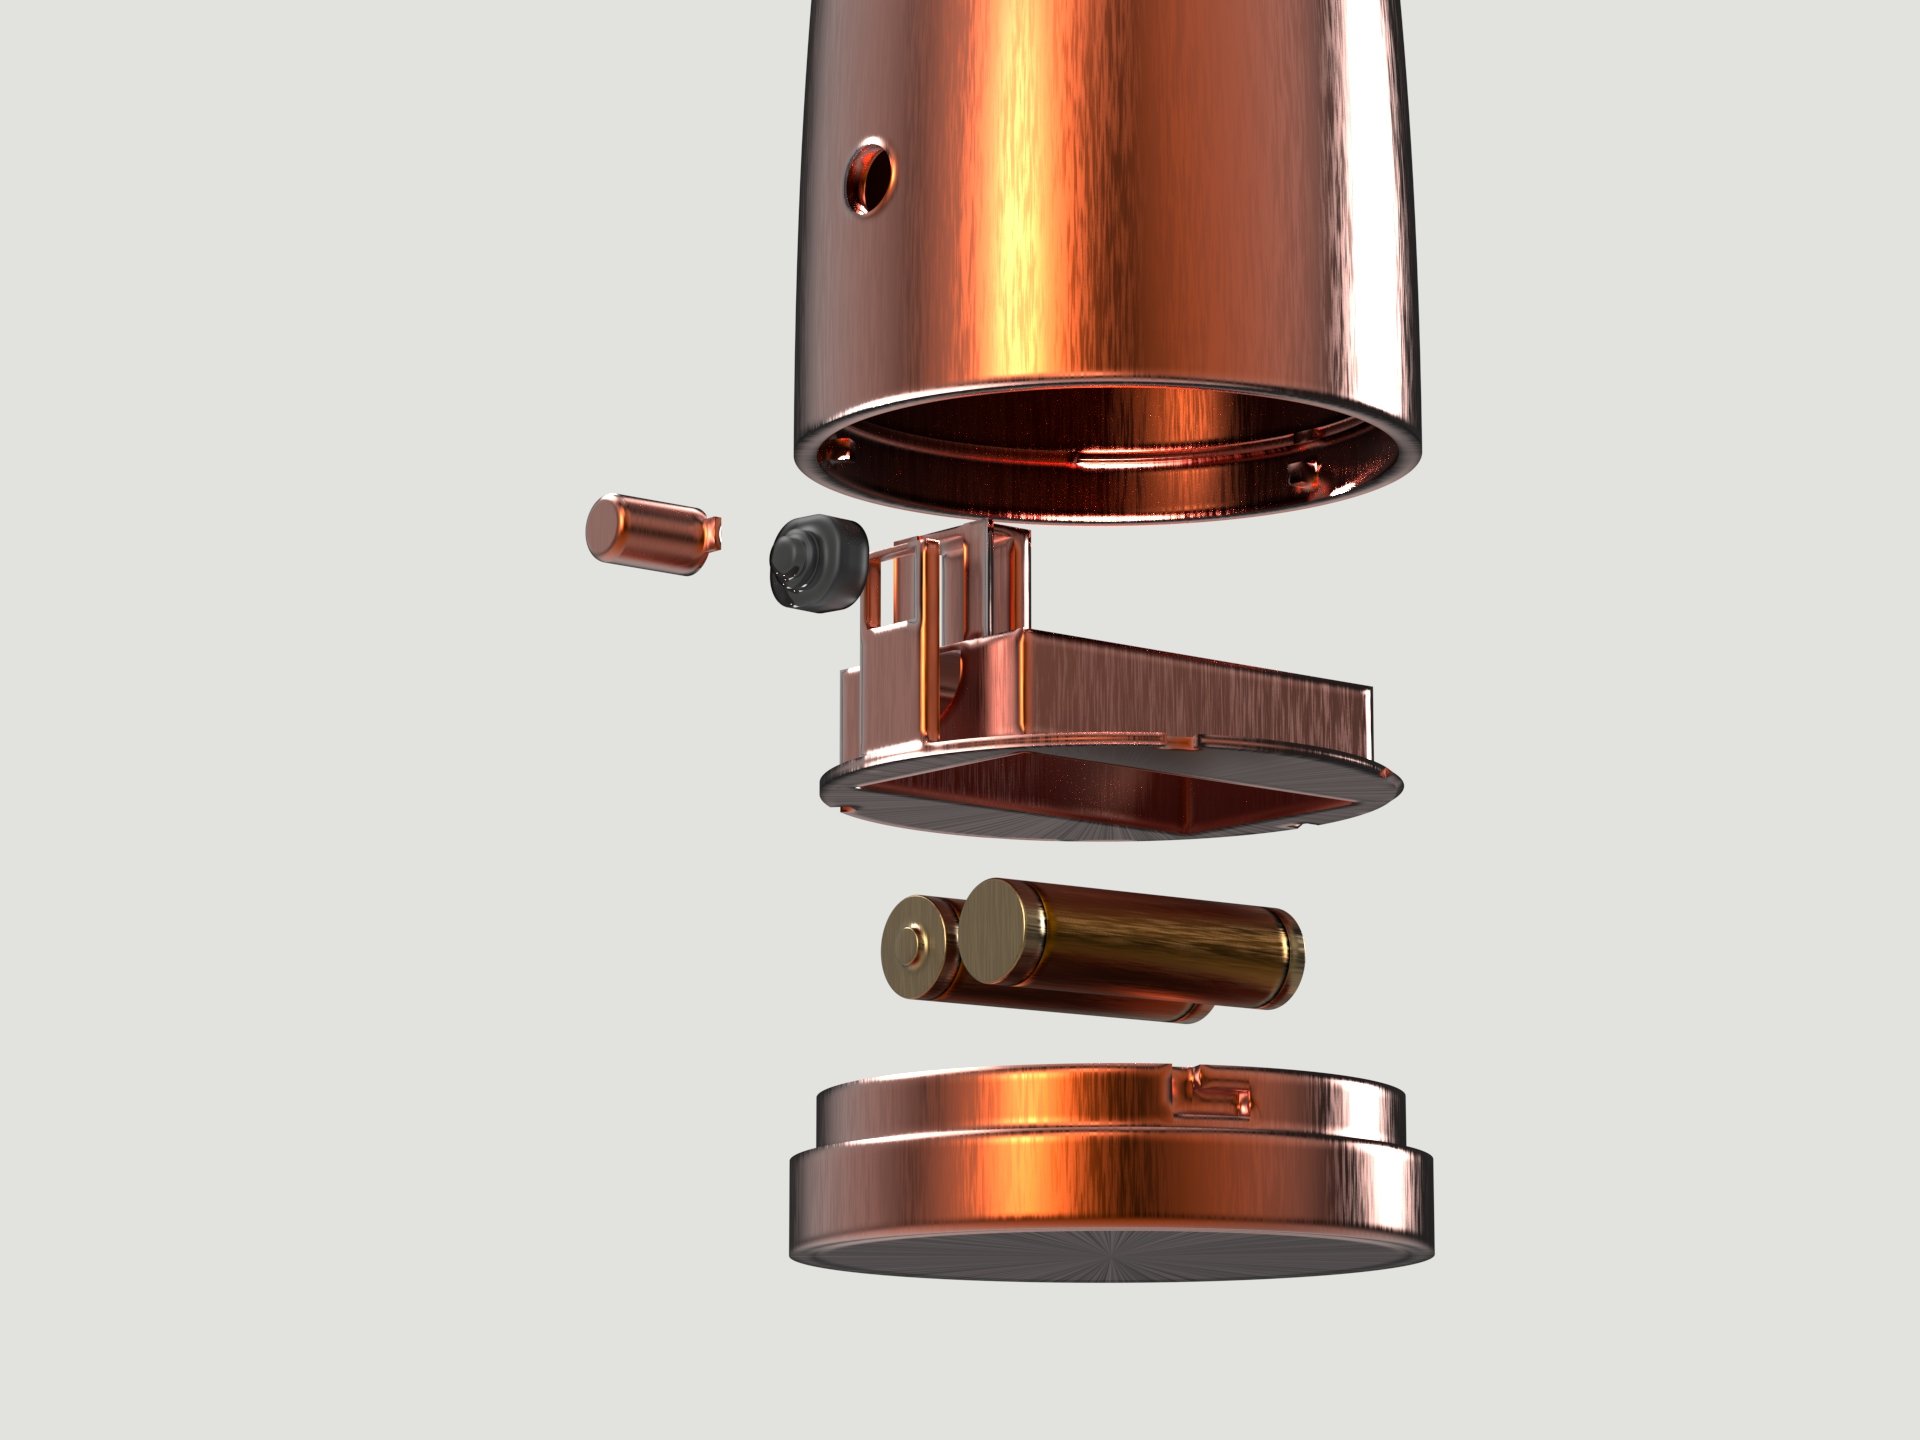
Final Prototype.
Product Architecture.